


Perhaps you’re spending more time at home these days, and looking for a delicious new hobby. How about trying your hand at making kombucha?
Yes, kombucha, a centuries-old fermented tea drink with a fascinating history (explored here in-depth by Laura Zhang for Smithsonian Folklife) currently experiencing a 21st century renaissance. In brief, kombucha is the result of introducing a yeast and bacterial colony known as a SCOBY— Symbiotic Culture Of Bacteria and Yeast—to sweetened tea. Let it sit for a week or so and the results are kombucha. It’s fun to make, infinitely customizable, tasty and even arguably good for you, thanks to all the probiotics.
In this story I’ll be sharing with you everything you need to get started making kombucha at home, as well as my own tried and true recipe developed through years of research, tinkering, and a healthy dose of trial and error. This is by no means an exhaustive resource for all things kombucha; consider this the starting point of your own wonderful fermented journey. So let’s get boochin’!
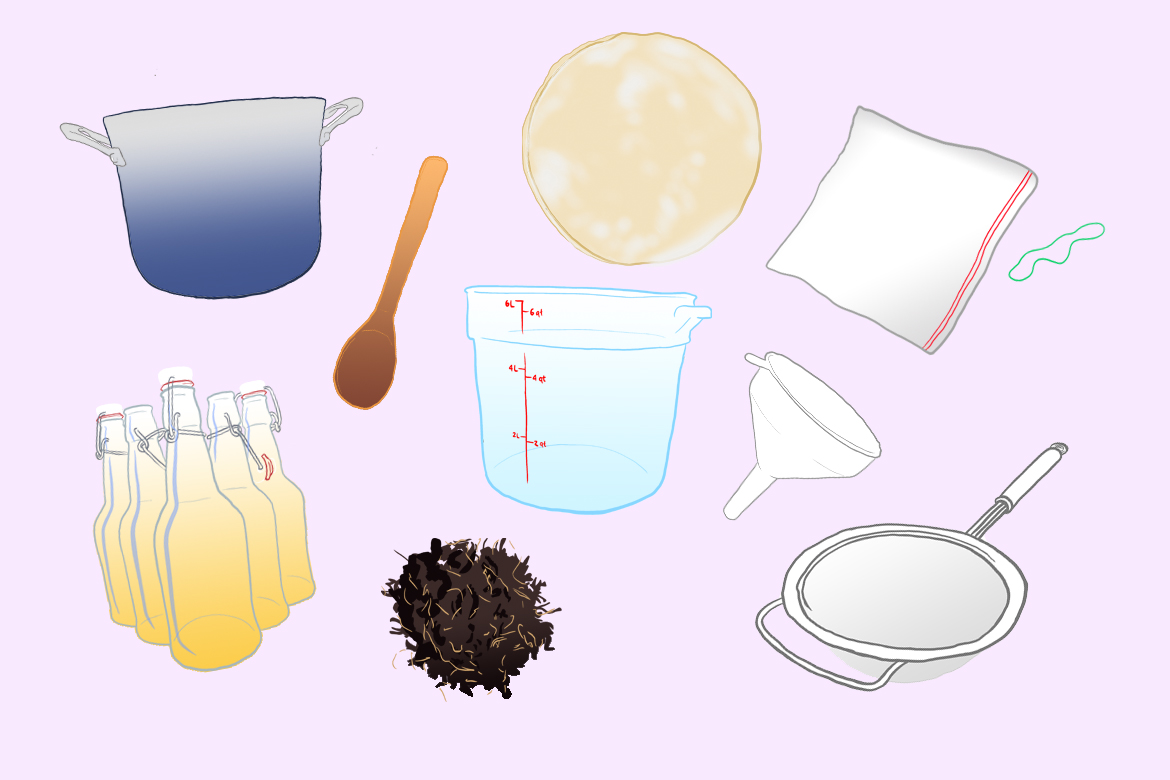
What You’ll Need
Tea (more on that later)
Pure cane sugar
A gallon of purified water
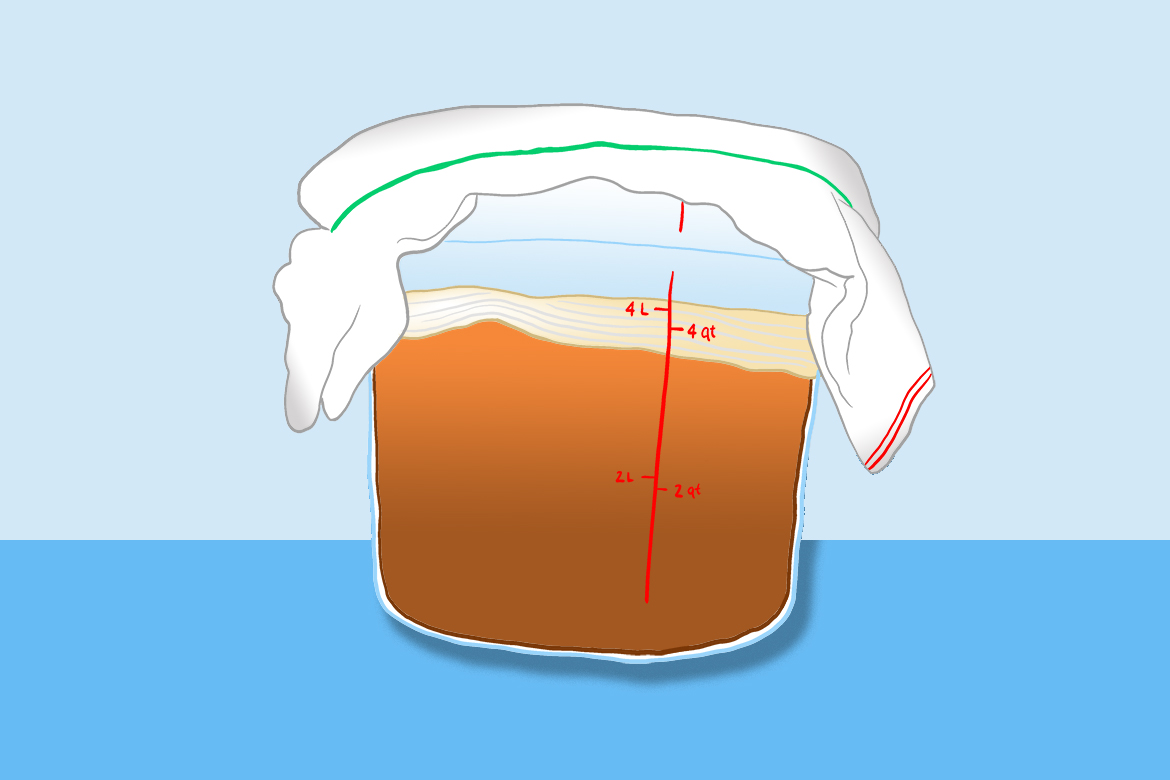
Food-safe plastic tub, 6 quart (glass is preferred but more expensive)
A tea towel
A large rubber band or cord (to fasten the tea towel to the gallon tub)
A funnel (for bottling)
A fine mesh sifter (if using finer teas like sencha, a 50 mesh screen is better. Otherwise 30 mesh is fine)
A big pot for brewing the tea
Something to stir with
Optional but recommended
A second food-safe plastic gallon tub
A cooking probe thermometer (for measuring water temperature)
Fruit juice or other flavoring
What Tea Should I Use?
Choosing you tea—or better yet, creating your own unique blend—is one of the best parts of making your own kombucha, but there are a few general rules that should be followed. First, the tea you used needs to be Camellia sinensis. White, yellow, green, black, oolong, all these and more are Camellia sinensis and work wonderfully.
Now, the safest bet—and least controversial—is to use Camellia sinensis and Camellia sinensis only. That said, including a botanical element can really add a nice florality to the end product. Sticklers will say to not add any non-Camellia sinensis until after fermenting because it could adversely affect your SCOBY. But in small doses, I haven’t personally noticed any such effects, although it might be wise to stay away from things like Earl Grey or other teas that have non-tea components already added in.
You can also just use Lipton tea bags, which is fine and will certainly make kombucha. But where’s the fun in that? Loose leaf provides you more options in what you want to brew and in general, is often better quality than what you can find in bag form. Better tea makes for better booch.
When creating your tea blend, think of it like you would a coffee blend. Different teas can serve different purposes. I keep my blend at 50% black tea, in particular Rishi’s Golden Yunnan. Black tea provides a strong backbone and promotes SCOBY health. It’s like a nice, chocolaty Brazil. To that I add 25% oolong—something nice from White 2 Tea, perhaps, or Republic of Tea’s milk oolong, depending upon what’s available. I’ve found the oolong provides a bit of a creamy texture without making the finished product too heavy or astringent (as can be the case if you use black tea only); the milk oolong in particular reminds me of butter popcorn. Finally, I add 25% sencha to my base. This adds a lightness and some sparkling highs to your kombucha. [Ed note: Since writing this I have switched to a 75/25 oolong-sencha blend because I’ll never not tinker. The kombucha is much lighter bodied with a bit more of a rounded sweetness. A good summer booch.]
As you can see, our base blend is 100% Camellia sinensis. For my recipe, I like to include a floral component, perhaps some rosehips or dried jasmine flowers. Feel free to pull something from your garden, the dried section of your cabinet, or another favorite recipe from another part of your life that you’d like to enjoy in beverage form. Kombucha is really personal and that’s part of the fun! If you try to shoehorn coffee into every part of your life like I do, you could add some cascara here, but any botanical you include could have different effects on your SCOBY, so use sparingly. For me, when I make a gallon of kombucha, I use 20g of my base tea blend and then add 5g of the botanical. I’ve added up to 10g of botanicals with no issue. You’ll just have to try and see what works for you.
A Note on Sugar
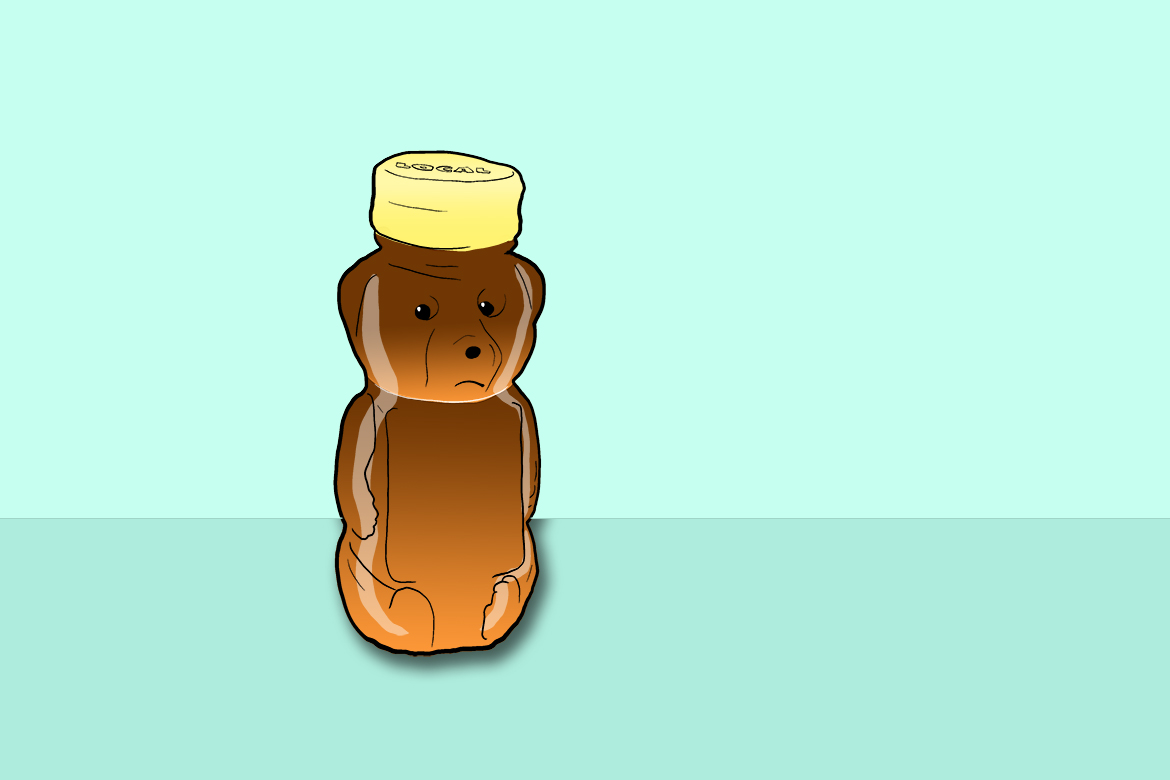
As a hippy-dippy granola person (in that I make my own granola), I balked at the idea of using plain old cane sugar in just about anything. I’m always going to use honey or agave nectar or some other natural sweetener whenever I can. But in this instance, it’s inadvisable. Honey, for instance, comes with its own bacterial cultures that will fight with your SCOBY (and sometimes win!) for the food supply: the sugar. Indeed, if making a kombucha-like drink with honey is of interest to you, please check out jun, the utterly delicious fermented beverage tradition from Korea that uses honey specifically in the brewing process.
You can use brown sugar to make kombucha but it will greatly affect the end result as well as the fermentation time, so in my experience, it’s best to stick to cane sugar for consistency’s sake. For those concerned about adding white sugar to their brew, know that it is simply the fuel your SCOBY needs to ferment the tea. The SCOBY will chow down on most, if not all, of it during fermentation, leaving little to none to make it into the bottle. Just choose a nice organic pure cane sugar and set your mind at ease.
For my recipe, I utilize a 10:1 sugar to base tea (botanicals not included) ratio, so 200g total. I’ve done as high as 28g tea to 280g sugar but I found the kombucha it made to be a little heavy and would often turn vinegary too quickly during fermentation.
The SCOBY
A SCOBY is a living, breathing colony made of billions of little yeast and bacteria cells. It’s a rubbery, fleshy looking disc that floats on top of the sweet tea. The little brown gross dangly things hanging from it are the yeast. Leave them be. And like all things yeast- and bacteria-related, your SCOBY’s activity is going to be temperature-dependent; the hotter it is, the faster it will do its thing. Because “room temperature” differs from house to house, and even from corner to corner within your house, there’s no gold standard for how long your SCOBY should be in contact with your tea. Could be five days, could be two weeks. It also depends upon how fermented you like your kombucha. If you like a sweeter drink, pull the SCOBY sooner. If you like a little vinegar kick, let it go longer. The key is to taste as you go until you find what you like.
As you make kombucha over the weeks and month, your SCOBY will grow new layers, getting thicker and thicker. You’ll occasionally have to cull a few layers from the bottom (the side the comes in contact with the tea). You can discard these layers, share them with friends to start their own kombucha, use them for more experimental batches (like, say, a coffee kombucha), compost them, or even turn them into a surprisingly tasty fruit leather.
You have lots of options for acquiring your SCOBY. If you don’t have a homebrewing friend who can break you off a nug, there are tons of places online to purchase one. I would stay away from dehydrated SCOBYs but I’ve heard they work just fine. You can also cultivate one from a store-bought bottle of kombucha, but that’s a bit more of an intensive process, often with mixed results.
One final note: SCOBYs are incredibly resilient. If you, say, accidentally add fruit juice to them or use the wrong tea or too much or too little sugar, your SCOBY will be just fine. It would take multiple batches of whoopsies to risk ruining it.
The Recipe
As with anything yeast- and bacteria-related, make sure you sterilize all your kombucha making items before brewing a batch. This will ensure that only the microorganisms you want make it to fermentation.
At long last, all emptors have been caveated and we can start making kombucha.
In a large pot, bring a gallon of purified water to a boil then let cool for 45 seconds to a minute before adding the tea. If you’d prefer to be more technical, use the optional thermometer to bring the water up to the temperature that works best for you tea blend. For mine, 185-190ºF is the sweet spot, but it will vary based on what teas you use. It’s going to take a little trial and error to find what works best for you and your blend.
Once you’ve reached temp, add in the sugar (200g) and tea (20g base and 5g botanical) and stir until the sugar is dissolved. Total steeping time will also vary depending on the tea you use. A good guide is to brew using the time and temp suggested for the tea; if you are using a blend, start at a good middle average of the components’ suggested brew times. For mine, four minutes works best.
You could, if you wanted to get VERY serious, brew each tea component individually using the appropriate water and sugar proportion and then mixing them all together post-steep. Personally, I don’t find the results to justify the effort, but YMMV.
After steeping, transfer the newly created sweet tea into a food-safe container, filtering out the tea leaves by pouring everything through the strainer. Once the brew is separated from the tea leaves, let it cool to room temperature before adding your SCOBY (while resilient, extreme heat like a just off-brew sweet tea could kill it). Cover your container with the tea towel and hold it in place with either a large rubber band or a cord of some sort. This will keep critters from trying to get into your sweet tea. Store in a kitchen corner or pantry or any place that doesn’t get direct sunlight (we don’t want any uncontrolled temperature swings). Let sit anywhere between five days and two weeks, depending upon the activity of your SCOBY and how you like your kombucha to taste. In the beginning, it’s a good idea to taste the brew every day or so after day five to see how things are progressing and to figure out when you’ve found the ferment level of your liking.
This is called the first fermentation, and at this point you officially have made kombucha. Congratulations! Now it’s time to add any additional flavorings of your choosing, after you’ve transferred your SCOBY to a different batch of sweet tea, of course. Fruits, spices, honey (now that we don’t have to worry about affecting the SCOBY it’s fine), whatever you want. Or you could add nothing at all. It’s entirely up to you. I’m fond of fruit juice and find that 12 ounces provides just the right amount of additional flavoring.
Fresh-squeezed juice is preferred, as it won’t have any additives or extra junk you may not want. If you don’t have the ability to make any yourself, you can always buy a bottle from your local grocer, juice bar, or coffee shop. I will say, citrus—which can easily be squeezed by hand and filtered using the strainer—is always an easy win for kombucha flavoring. Grapefruits, blood oranges, pomelo, the simple navel orange, lemons, limes, I’ve used them all to great effect. Grapefruit is probably my favorite.
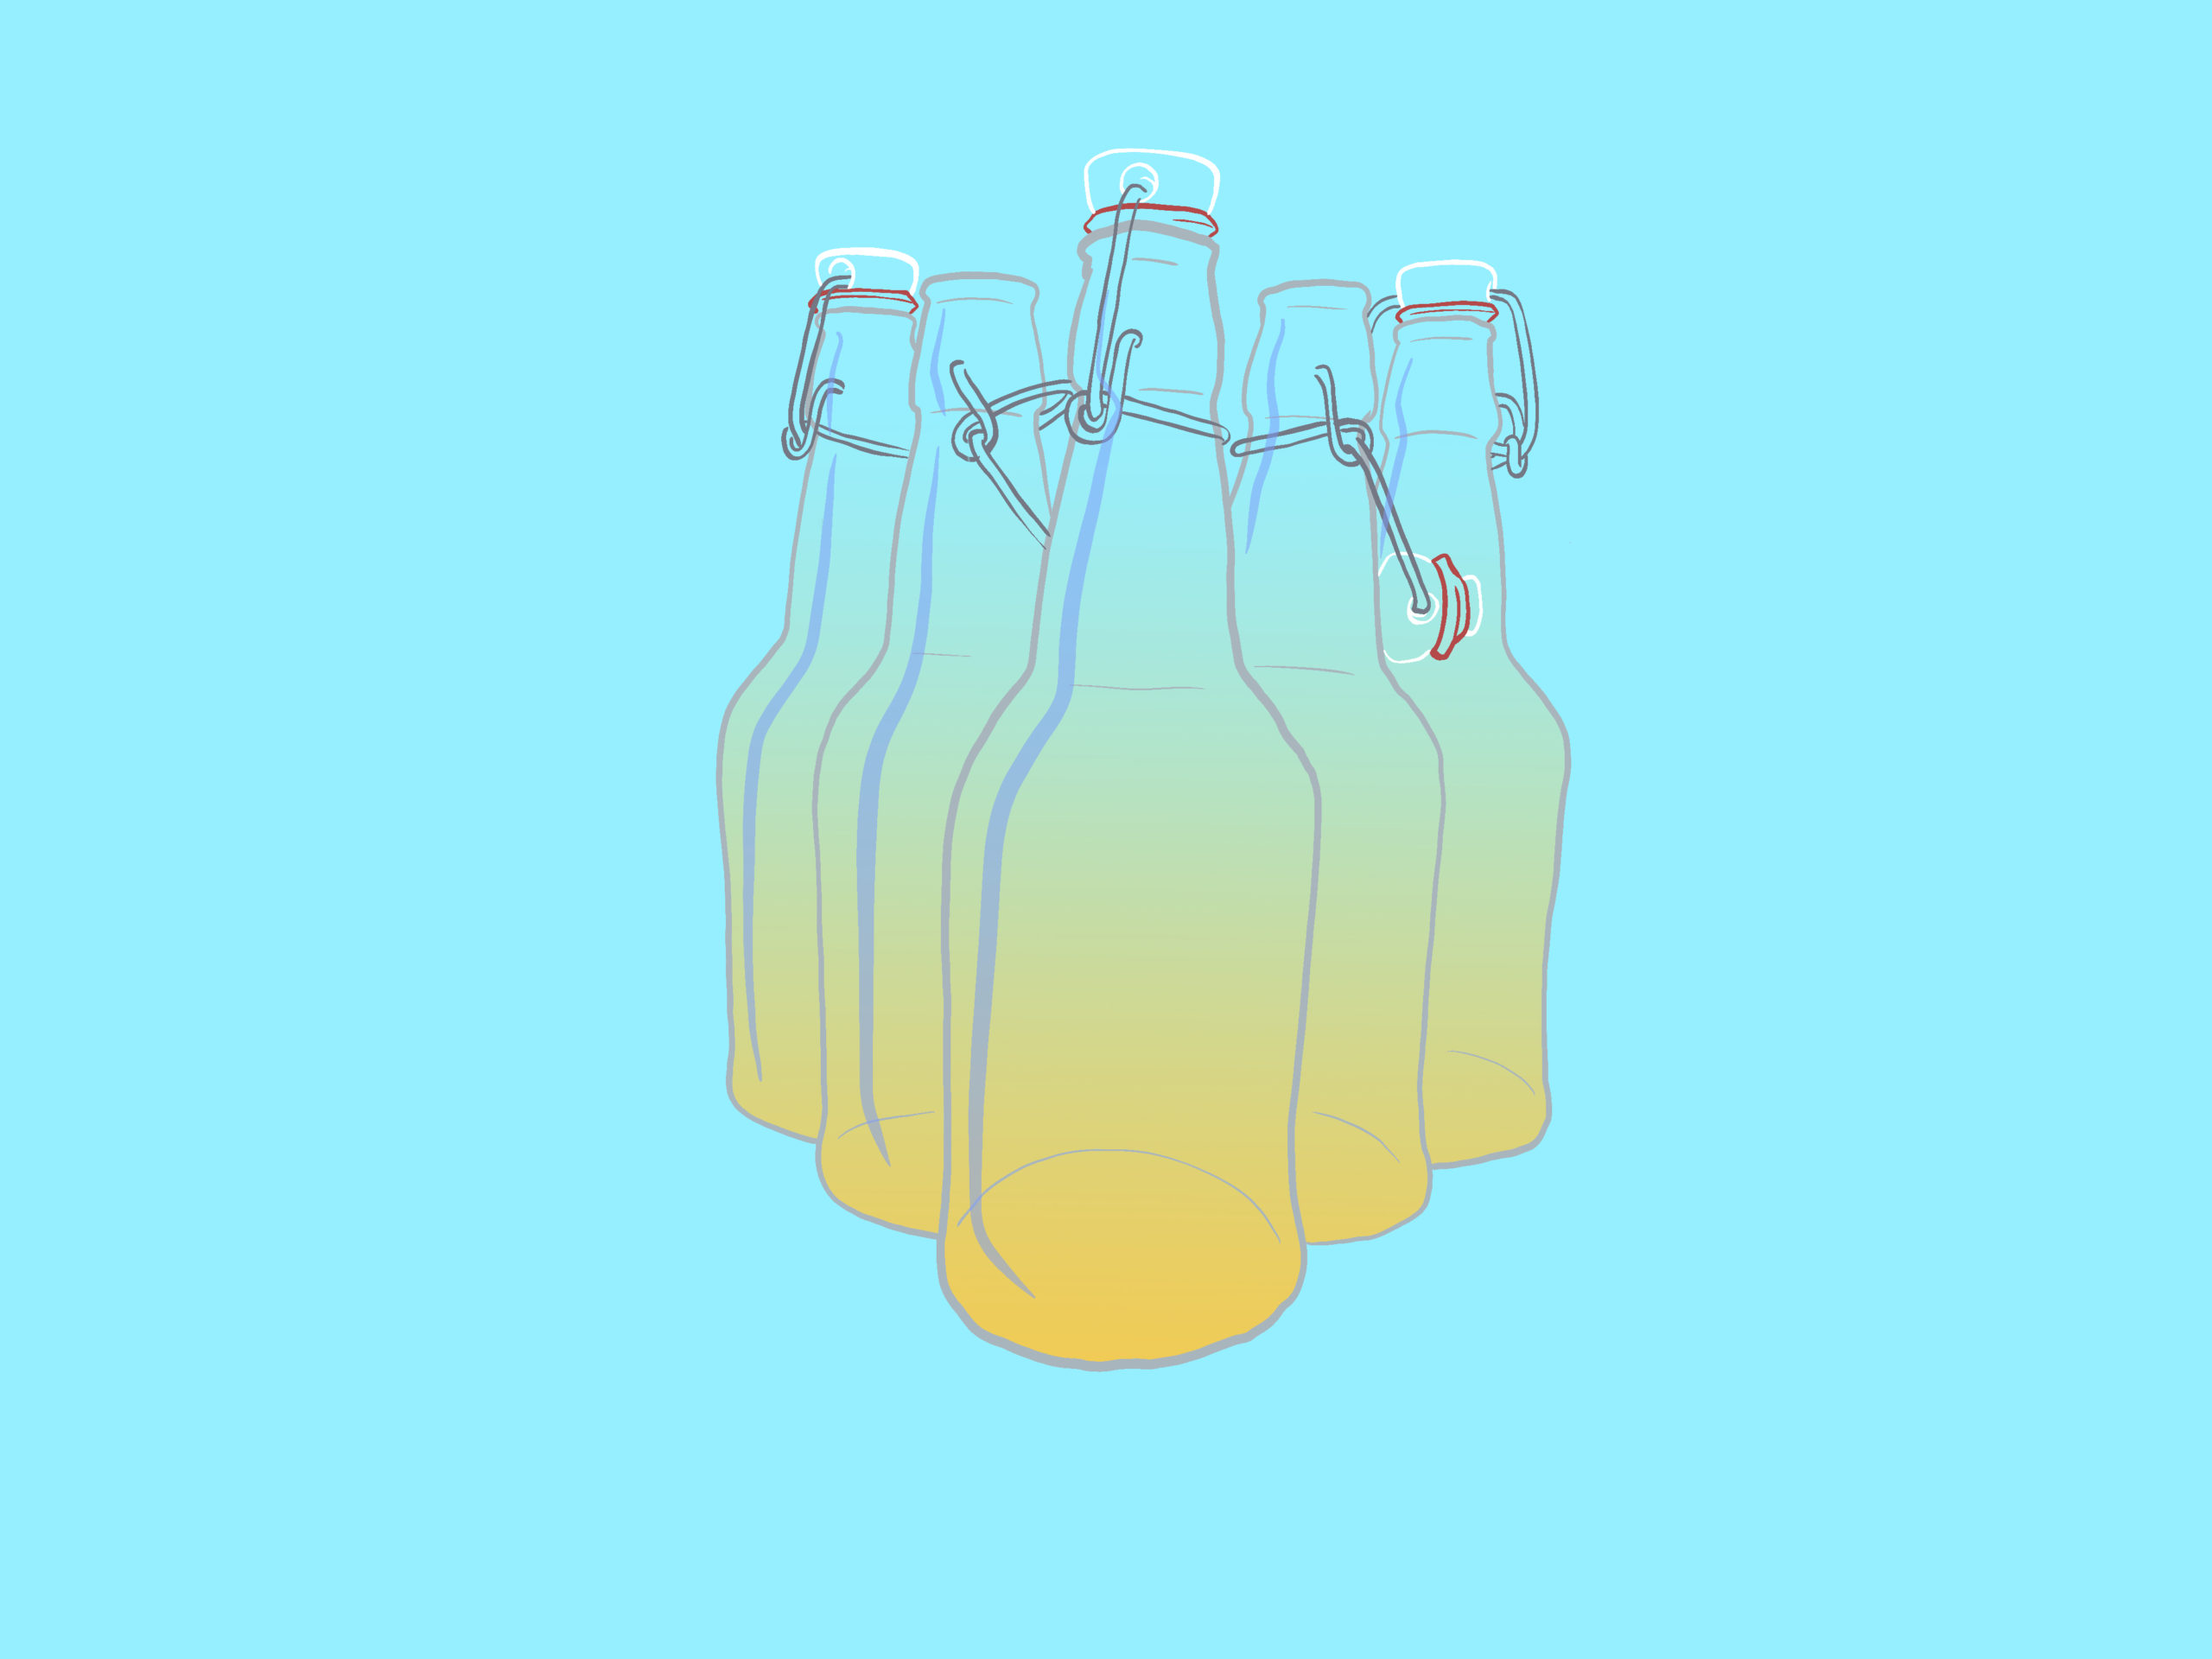
Once you added your preferred flavoring, you have the option of passing the entire mixture through the strainer again; this will help capture some of the dangly SCOBY bits (the things that often deter people from trying kombucha in the first place) that would otherwise end up in the bottle. Then use the funnel to pour your kombucha into the swing top bottles, making sure to leave a little headroom in the bottle. For the swing-top bottles, I only every go a quarter of the way up the neck, sometimes less. One gallon of kombucha should get you eight 16-ounce bottles (or seven 16-ounce bottles, one 8.5-ounce tester bottle, and a little nip for yourself to enjoy the fruit of your labor).
You now have two choices: stick the bottles directly in the fridge for a still kombucha. Or, if you would like a little carbonation, which you definitely do, let the bottles go through a secondary fermentation by leaving them out for three-ish days at room temperature. If you choose to go for the secondary fermentation, you’ll need to add additional fuel for the trace amounts of yeast that made its way to bottling to feed. Luckily, adding fruit juice provides the perfect primer to kickstart the secondary ferment. If you opted to not add flavorings, a little extra sugar at bottling will do the trick.
If you do choose to do the secondary fermentation, be advised that you should not go too far past the three-day window. As the yeasts eat the sugars, they are expelling gas, which creates the carbonation. If you let them do this for too long (and with too much sugar to consume), they will continue to expel more and more gas, building up the pressure inside the bottle until it eventually explodes. Violently. It happened once in the middle of the night while I was out of town and my wife was certain someone broke into the house, to say nothing of the glass that traveled impressively far and around corners. Putting the bottles in the refrigerator reduces the fermentation to next to nothing. You can store bottles in the fridge for months with no issue.

SCOBY Upkeep
It’s a good idea to make sure your SCOBY is always kept in a sweet tea mixture. I keep mine up and running by making a fresh batch of sweet tea to ferment once the already-fermenting batch is ready to bottle. For me, this is about every 10 days. If you find that the fermentation cycle is a little too fast for you to consume, you can always put your SCOBY-in-sweet-tea in the refrigerator, slowing the fermentation and keeping your SCOBY alive for up to a month or so until you are ready to make more kombucha.
So there you have it, everything you need to get started on making your own kombucha at home. The combinations of tea and fruit and coffee are endless and endlessly rewarding. Explore! Experiment! Tinker away! Maybe even take a look at the ingredients list from your favorite store-bought bottle for ideas on where to take your baby boochies. Just be prepared to share, because folks will come calling once they know you are a master kombuchist. And keep tabs on those swing top bottles; they aren’t cheap. Enjoy!
Zac Cadwalader is the managing editor at Sprudge Media Network and a staff writer based in Dallas. Read more Zac Cadwalader on Sprudge.