The AeroPress is a darling among coffee enthusiasts everywhere, and for good reason. Invented by Alan Adler in 2005, the device has become a staple in professional coffee bars and home kitchens over the last decade. Adler is an amazing guy—he’s big on the idea that any of us can be an inventor, and even taught inventing to 7th graders each year in his home city of Los Altos, California.
Here’s our tried-and-true brew method that yields a delicious cup.
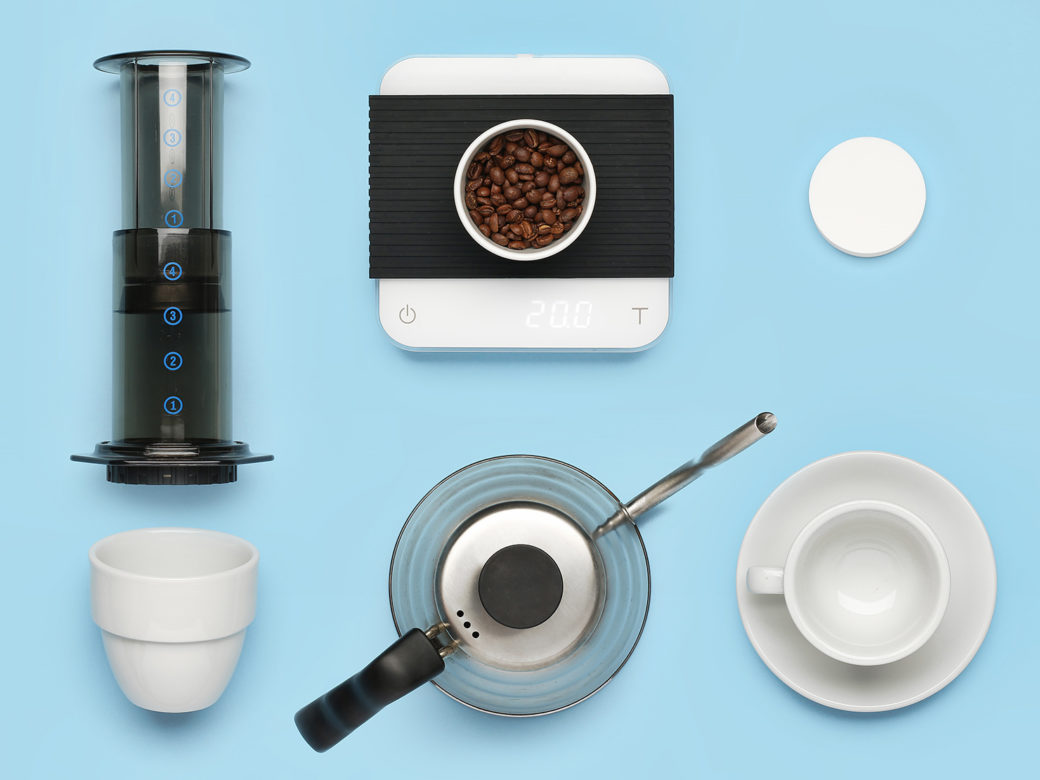
What you’ll need:
☑️ AeroPress Coffee Maker
☑️ AeroPress coffee filters
☑️ hot water
☑️ cup
What’ll you’ll want to have:
☑️ decanter
☑️ coffee grinder
☑️ hot water kettle
☑️ coffee scale
☑️ thermometer
☑️ stopwatch
Shop local—find a roaster selling gear in your area online. Don’t know where to start? Check out this map.
Of all the multitudes of AeroPress recipes (and there are multitudes—see below), the two major variances are standard and inverted. At Sprudge Labs, the crowd favorite and most desired method is inverted.
17g ground coffee (medium)
276ml hot water (200ºF)
Add 175ml of hot water, stir gently, add remaining water.
Place filter, and flip the AeroPress over the decanter ~1:30.
Press down for thirty seconds.
Step one:
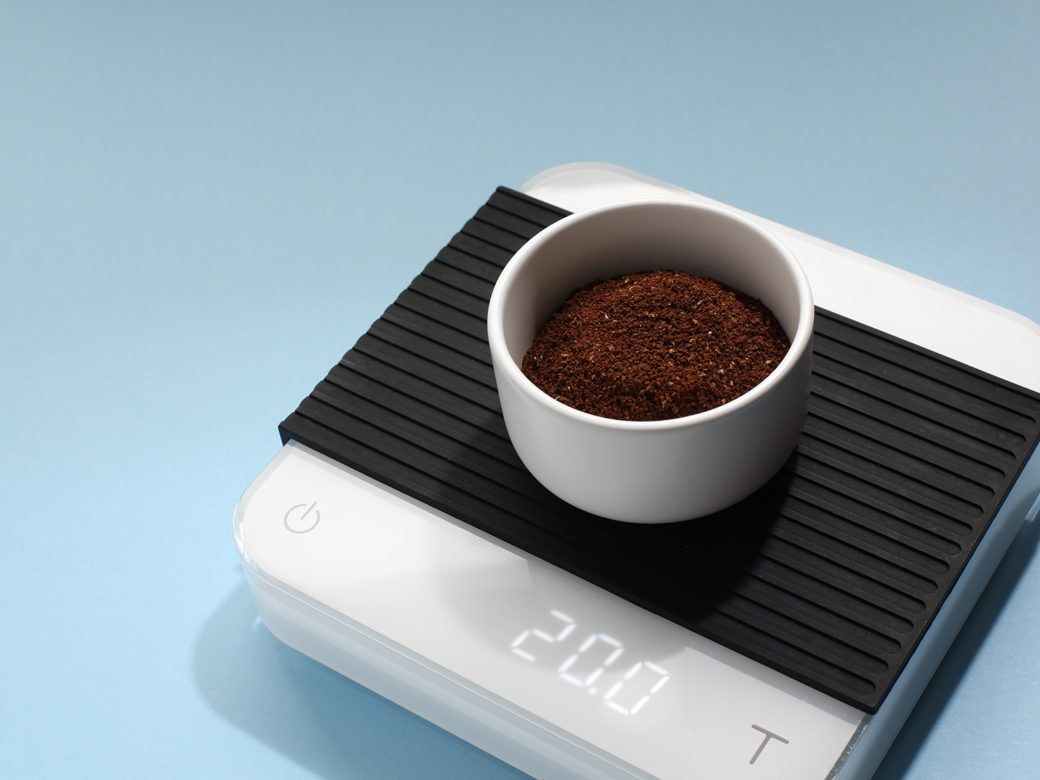
Measure out 17g of coffee (ground medium-fine, like table salt) and get your hot water going. Shoot for 200ºF/93ºC. Once your water is up to temperature, place a paper filter in the AeroPress. Rinse the paper filter with hot water, then remove the filter and filter holder from the AeroPress.
Step Two:
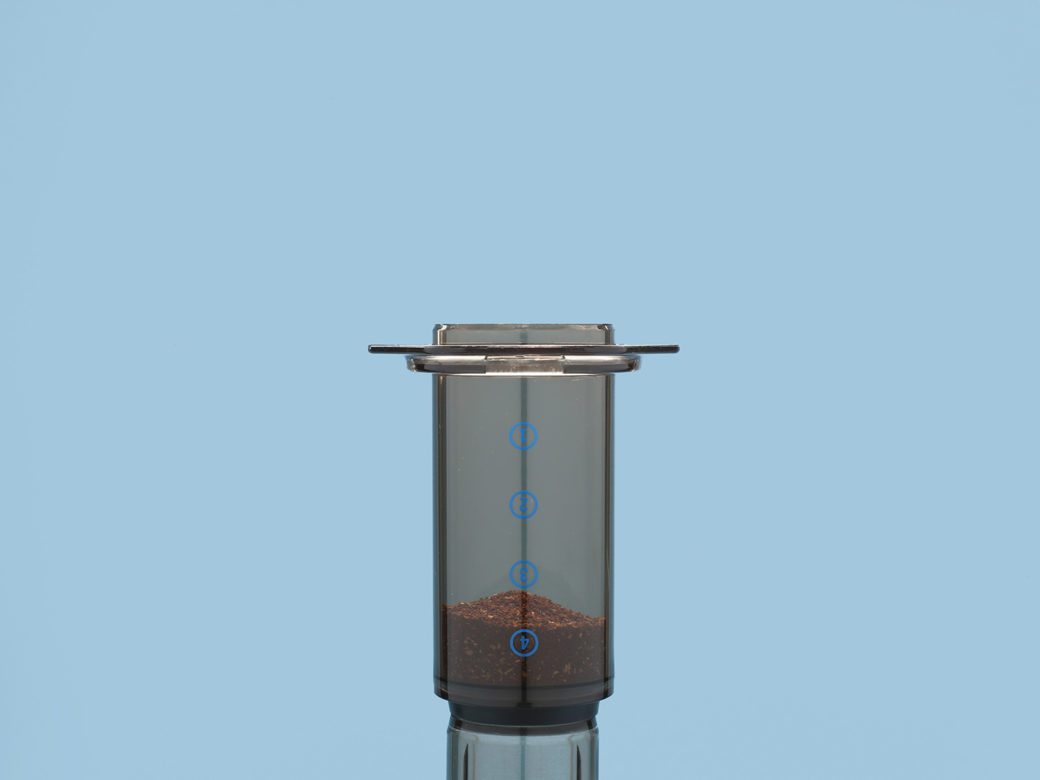
Insert the plunger so that it is just barely in the brew chamber, but stable enough that it’s not going to pop out when you handle it. Place the setup on top of your scale, brew-chamber-side-up and get your timer ready.
Step three:
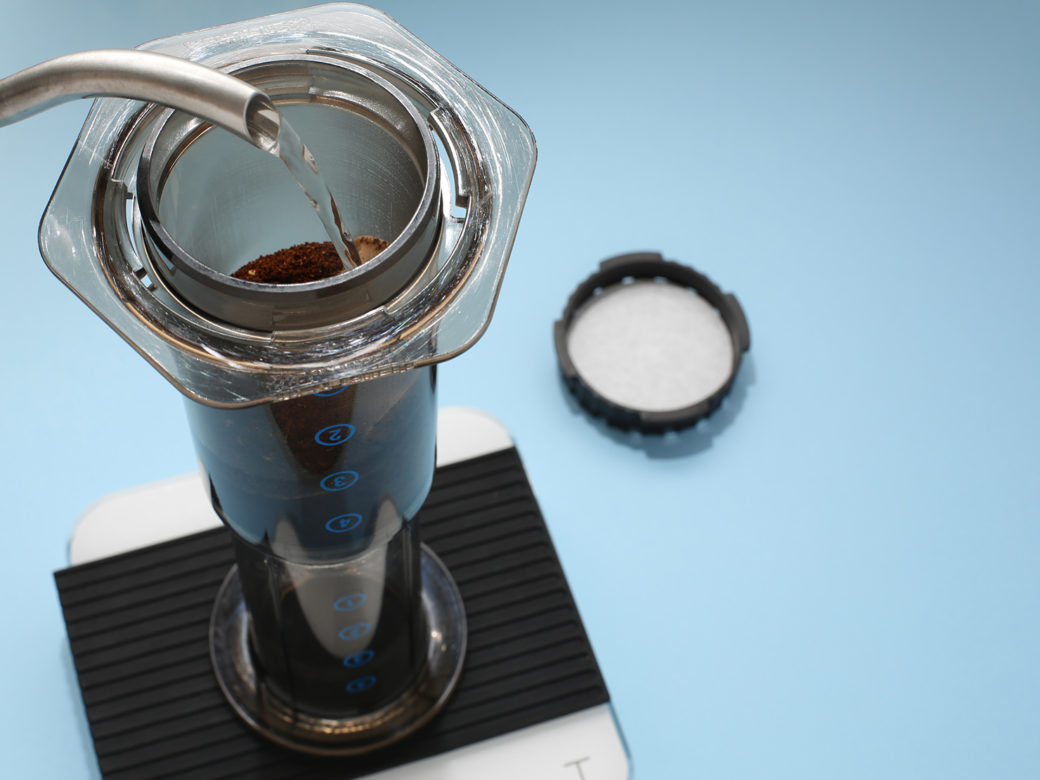
Start your timer as you start adding about 175g water to the brew chamber, rotating the AeroPress as you pour to ensure even saturation of the grinds.
Step four:
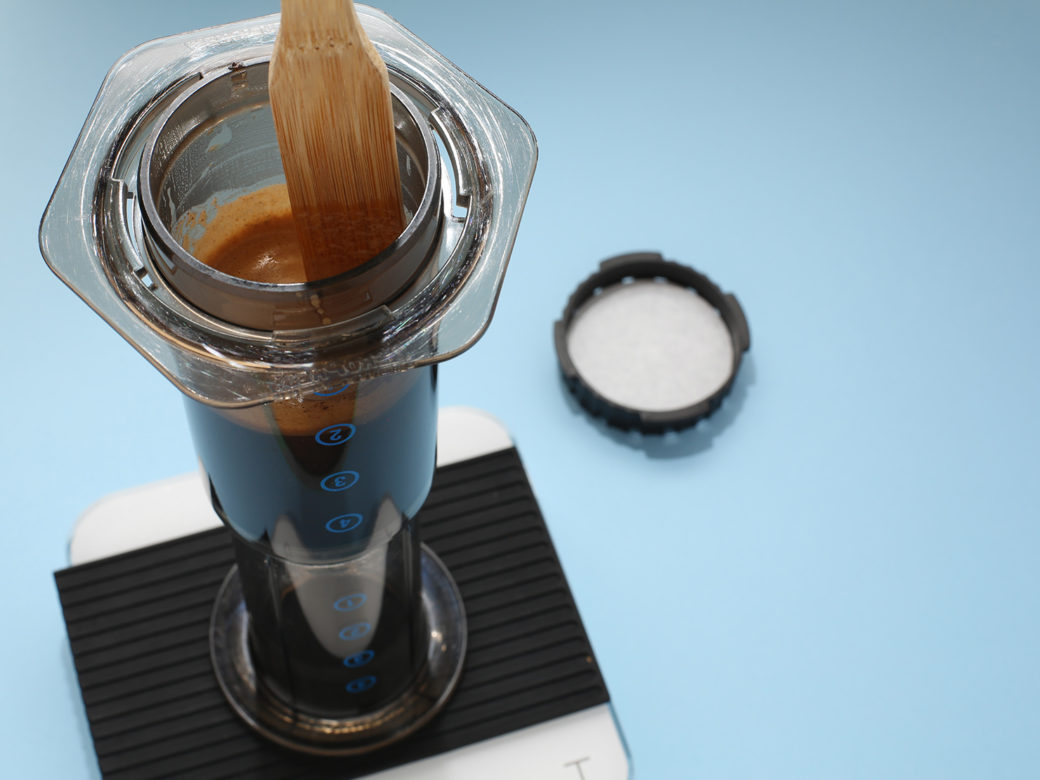
With a spoon or the included paddle, gently stir the coffee. We tend to paddle it about ten times in a back-and-forth motion. Top off the remaining 100mL water.
Step five:
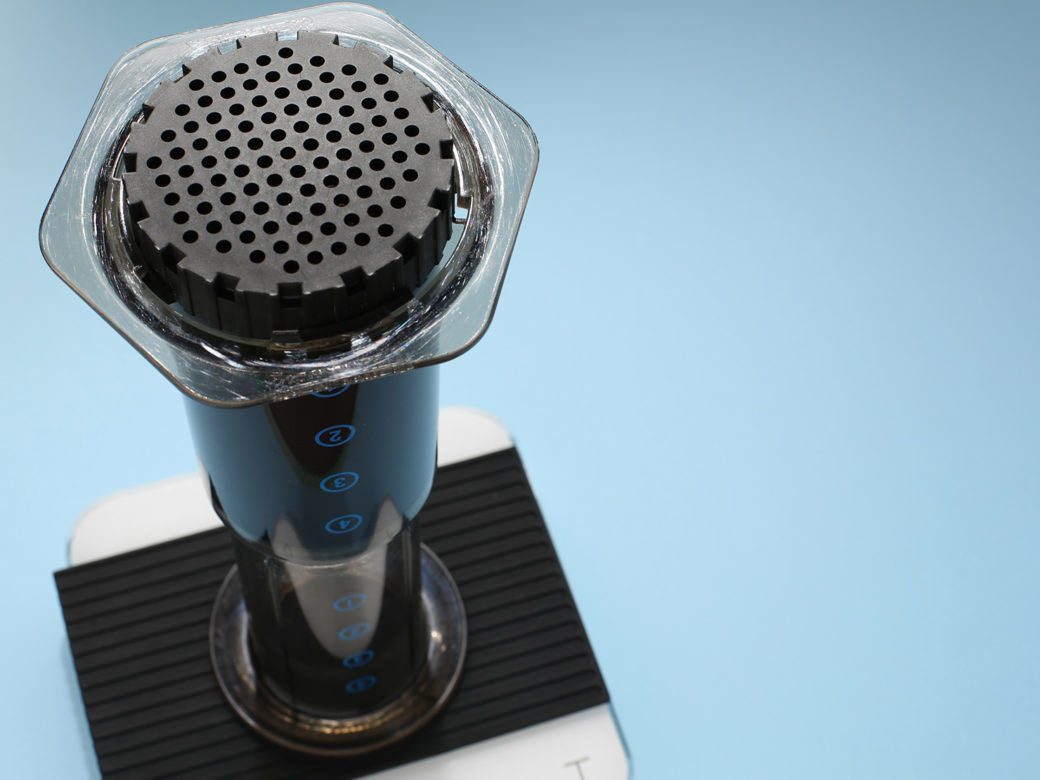
Making sure the paper filter is in place in the holder, place the filter holder onto the AeroPress and tighten it.
Step six:
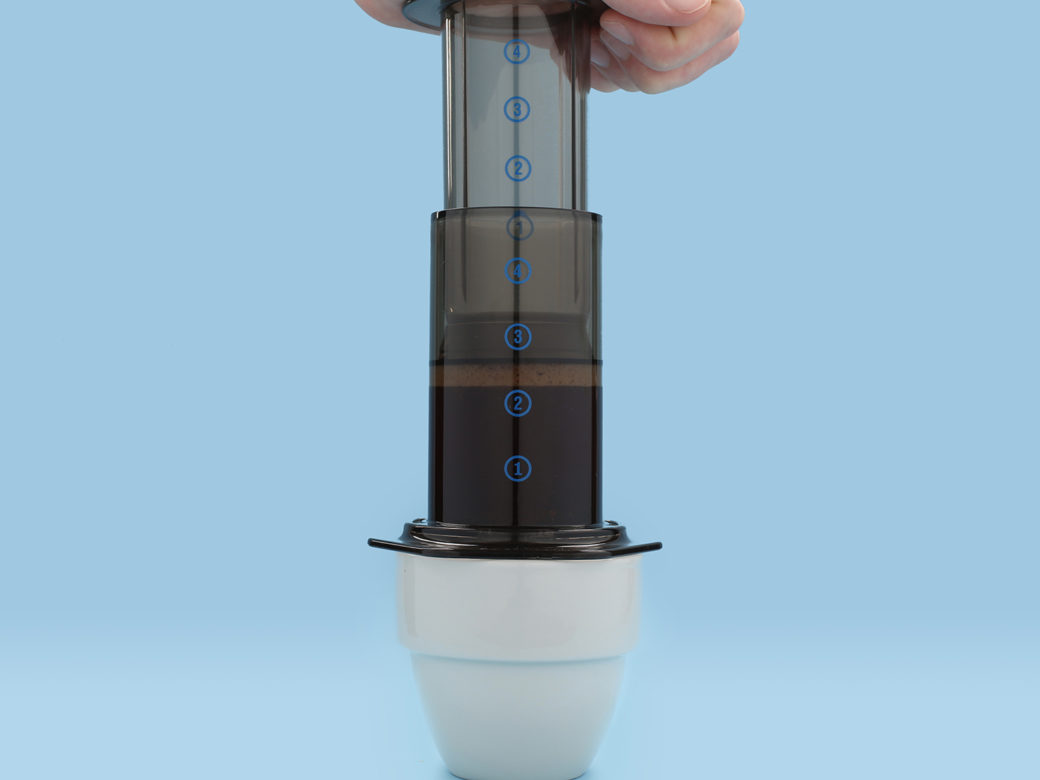
At 01:30, place the mug on top of the AeroPress, grip the AeroPress securely, holding both brew chamber and plunger simultaneously with your right hand, and in one motion, flip the whole setup onto your countertop and begin plunging. Again, apply enough force to complete the plunge in 30 seconds.
If you’re interested in brewing the AeroPress the classic way, try this time-tested recipe:
320mL/20g
1. Measure out 20g of coffee and get your hot water going. Shoot for 200ºF/93ºC. Once your water is up to temperature, place a paper filter in the AeroPress.
2. Place the brewing chamber on top of a cup or server. Pour some hot water through to rinse the filter.
3. Grind the coffee medium-fine, like table salt. Put the coffee into the brew chamber (the included funnel comes in handy here). Place the setup on top of your scale, tare it, and get your timer ready.
4. Start your timer and pour approximately 200mL of water onto the coffee. It helps to rotate the AeroPress brew chamber as you pour to make sure all of the grounds are evenly saturated. With a spoon or the included paddle, gently stir the coffee. We tend to paddle it about ten times in a back-and-forth motion. There will be some drip-through, but don’t stress out about this. Top off the remaining 120mL of water.
5. Place the plunger onto the brew chamber. Insert it at a slight angle, then straighten it out to create a nice seal. This should prevent further drip-through, but if more coffee drips out, don’t worry too much. After the timer reaches 01:30, (move the setup off the scale so you don’t break it) then press down on the plunger with some gentle force. You want to aim to finish the plunge in 30 seconds, with a total brew time of 2:00
The AeroPress is great at retaining heat: the polymer used in its construction has very little heat transfer, and consequently there is minimal heat loss. The short brew time ensures that the temperature throughout the extraction is fairly flat, compared to drip-methods which lose a lot of heat and benefit from higher water temperatures to keep the median extraction temperature elevated. Try using even cooler water: 195ºF/90.5ºC with a correspondingly finer grind.
Because the AeroPress offers not only thermal stability but mastery over gravity, it’s a very fertile ground for experimenting with water temperature, grind, and extraction time.
Sprudge brew guides utilize a brew ratio of 16:1 by weight, that is, for every 16 grams of water used, 1 gram of coffee is used. This is slightly more generous than the 60g/L standard recommended by the SCA, as 1000/16=62.5.
Grind measurements are given in subjective analogs, e.g. “like playground sand.” Communicating particle size effectively is near impossible, as grinder settings don’t translate universally. Ultimately, tasting and experience will illuminate the proper range of grinds for each brew method.
We specify a “bloom” of 30 seconds. Try a little longer if the coffee is really fresh.
Troubleshooting
The rate at which coffee extracts is influenced by a set of variables: surface area, water temperature, agitation, flow rate, and so forth. Once you get consistent, confident, and consistently confident, try to juggle the variables a bit: grind finer and use slightly cooler water. Grind coarser and let it steep longer. This balancing act ensures that there’s no single right way to do any of this… just use your noggin, but more importantly, use your taste to guide you.
Generally, if a coffee is thin, hollow, grassy, sour, lacks sweetness, it’s not extracted enough. The most effective way to correct this is to make the grind finer and keep everything else the same. If a brew is bitter, harsh, astringent, it’s over-extracted: next time, try coarsening up the grind.
Further Reading
Joe Coffee AeroPress Brew Guide
Dogwood Coffee AeroPress Brew Guide
Amavida Coffee AeroPress Brew Guide
Equator Coffees AeroPress Brew Guide
Partners Coffee AeroPress Brew Guide
Pilot Coffee Roasters AeroPress Brew Guide
Intelligentsia Coffee Brew Guide
Do you have an AeroPress brew guide or video? Let us know!
Brew Videos
Stumptown Coffee AeroPress Brew Video
James Hoffmann’s AeroPress Dice
Matthew P. Williams contributed to this reporting. Photographs by Bryan Schiele.

