You’ve been making bread for nigh on six months now, and as your friends, family, and neighbors can attest, you’re getting pretty good at it. After a half year honing your craft, though, things may be getting a little…stale. Sure, hydration levels or new folding techniques provide a world of experimentation, but the overall thrill of the bake may be starting to fade.
Perhaps it’s time to up your breadmaking game and give enriched dough a try. And since you’re a Sprudge reader—and thus a lover of all things coffee-related—there’s no better place to start than with a lovely, semi-sweet loaf of cascara currant sourdough.
As proper bingers of The Great British Baking Show on Netflix can tell you, enriched dough (a specialty of resident breadmaker and blue-eyed devil Paul Hollywood) are doughs that have been “enriched” with sugars and/or fats. This could mean the inclusion of milk, butter, eggs, sugar, fruit, nuts, you name it. Enriched doughs are wonderful because they open up an entirely new world of creativity for your bake. But they are a step up in weight class in terms of difficulty, which can be a good or a bad thing depending on why you got hooked on sourdough to begin with. While they can be more finicky, enriched doughs force you to really examine and react to your little yeasty baby, and the information you learn about how to effectively work with this trickier dough will pay dividends when you apply it to your standard sourdough.
The main thing to understand about enriched doughs is that the proofing time is going to be extended, perhaps even doubled. This cascara currant loaf makes a fine introductory enriched dough, and I’ve found it generally only needs an hour or two extra proofing time. Using currants, which are smaller than raisins or dried cherries, also helps to keep to a minimum the additional difficulty to the enriched dough. What this loaf does need, though, is soft turns. Minimizing the number of tears in the dough is crucial to keeping it from becoming a gloopy, unmanageable mess. I’ve included my preferred turning method that I’ve found to be the gentlest. Feel free to use whatever turning method you prefer, but make sure to be mindful to do it gently.
One last thing before we get cooking. This recipe was made with those in mind that have at least some sourdough baking experience; I’m going to assume you’ve got the basics down, but if you don’t, there are a ton of great free resources (not written by the union-busting chads of the world). Here are some of my favorites:
@Serious_About_Sourdough/@Sourdough_Tim
@FullProofBaking
Artistan Bryan
And since we are assuming you already have a tried and true method for making your favorite crusty loaf, I’m going to give you the suggested modifications here to amend the loaf you know and love with cascara and currants. Along with expecting to add an hour or two to the overall bulk fermentation time, plan on dropping the overall hydration by five percentage points. That will give you a little buffer room for the extra moisture squished out of the currants as you’re doing your turns, which is just going to happen and you need to accept it. For example, the standard loaf from which I based this recipe is an 80/20 blend of bread flour (Bob’s Red Mill is my go-to, but any will do) and whole wheat flour, with an 80% hydration rate.
Here’s what you’re going to need:
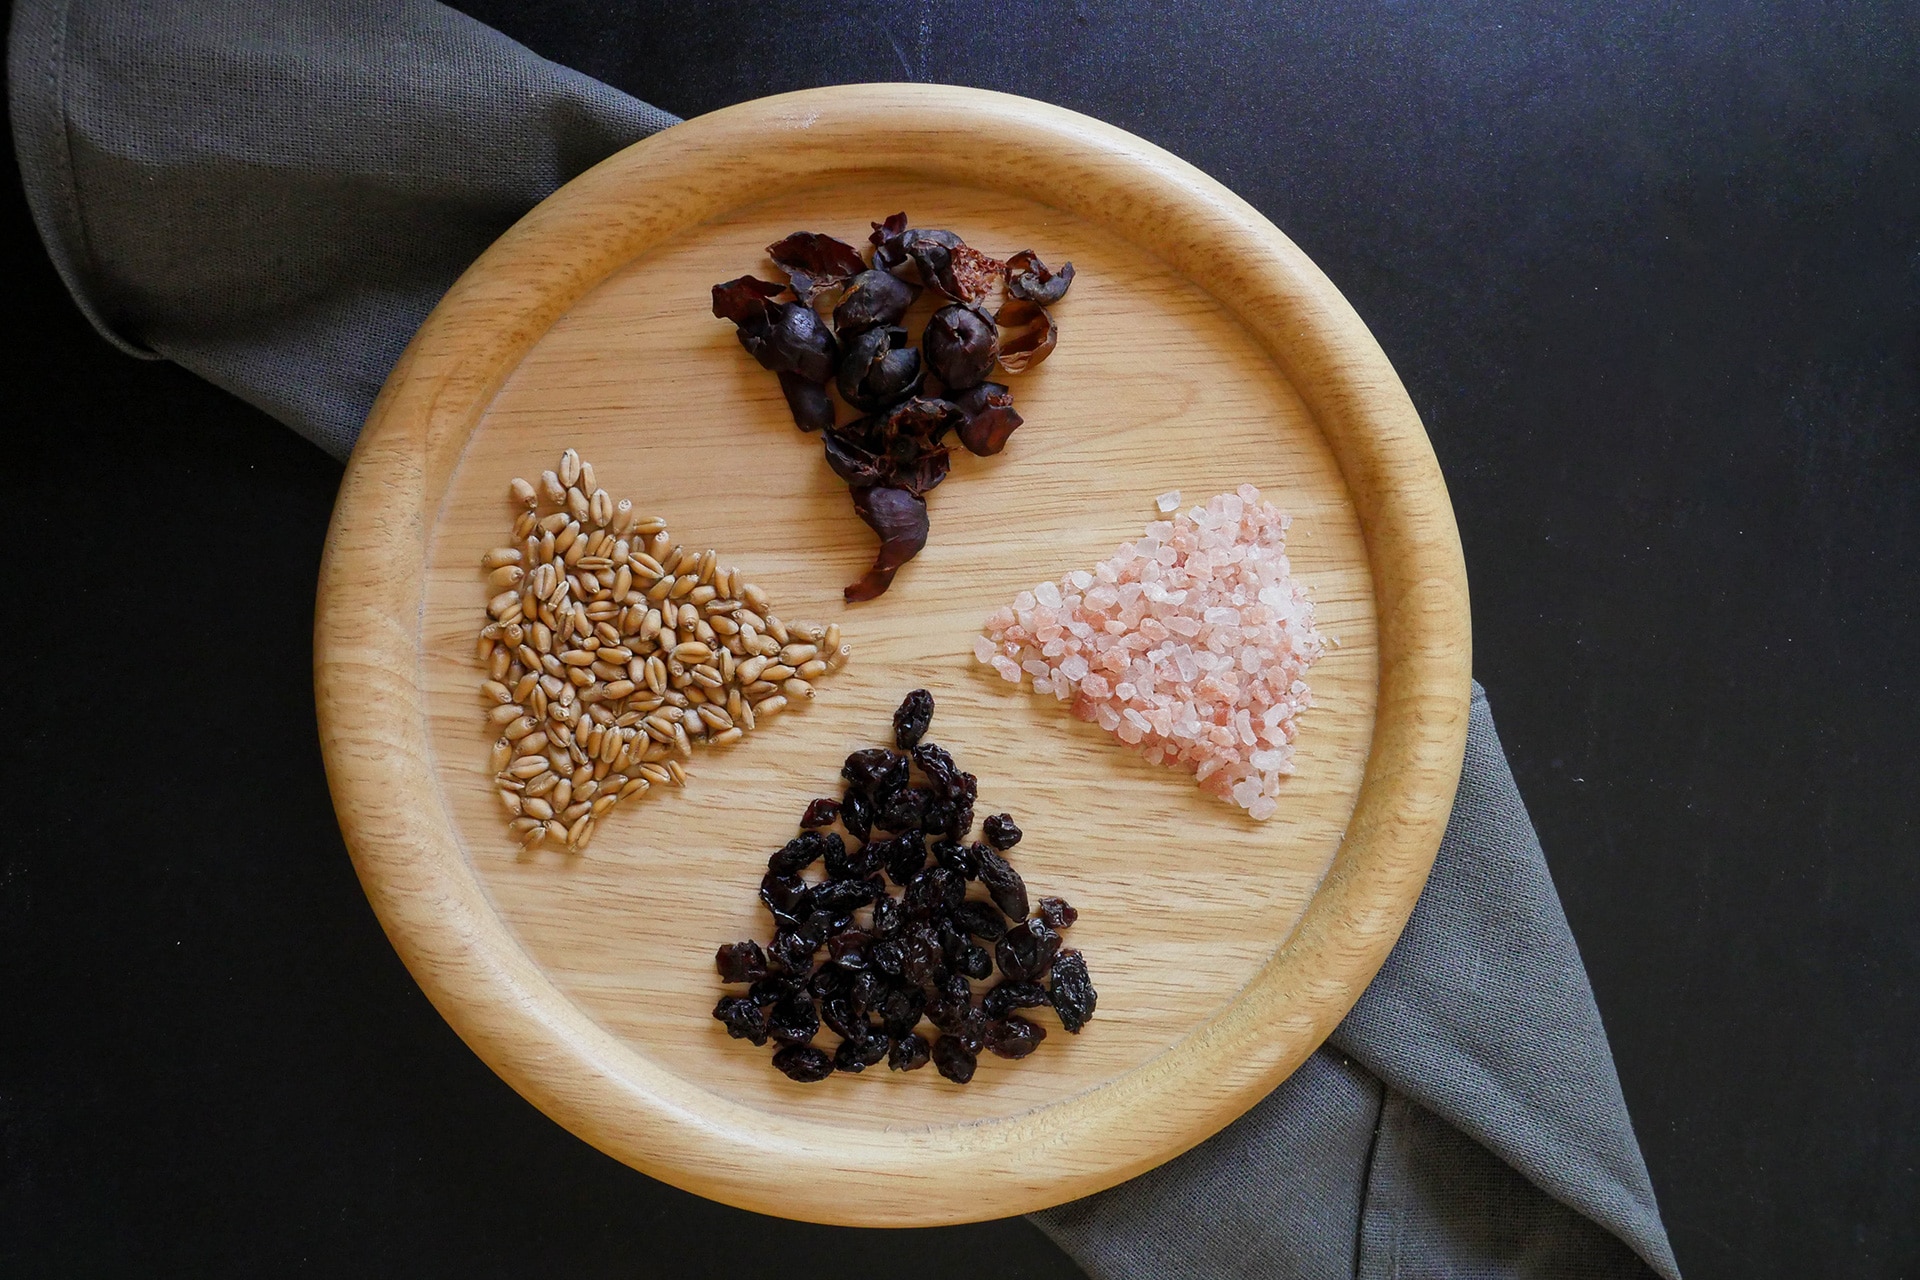
Ingredients
400g bread flour (plus more for dusting)
100g whole wheat flour, the most neutral flavored available (If this doesn’t mean anything to you, just use the whole wheat that you’ve got on hand)
Rice flour or semolina (for lining the banneton)
12g salt
Purified water
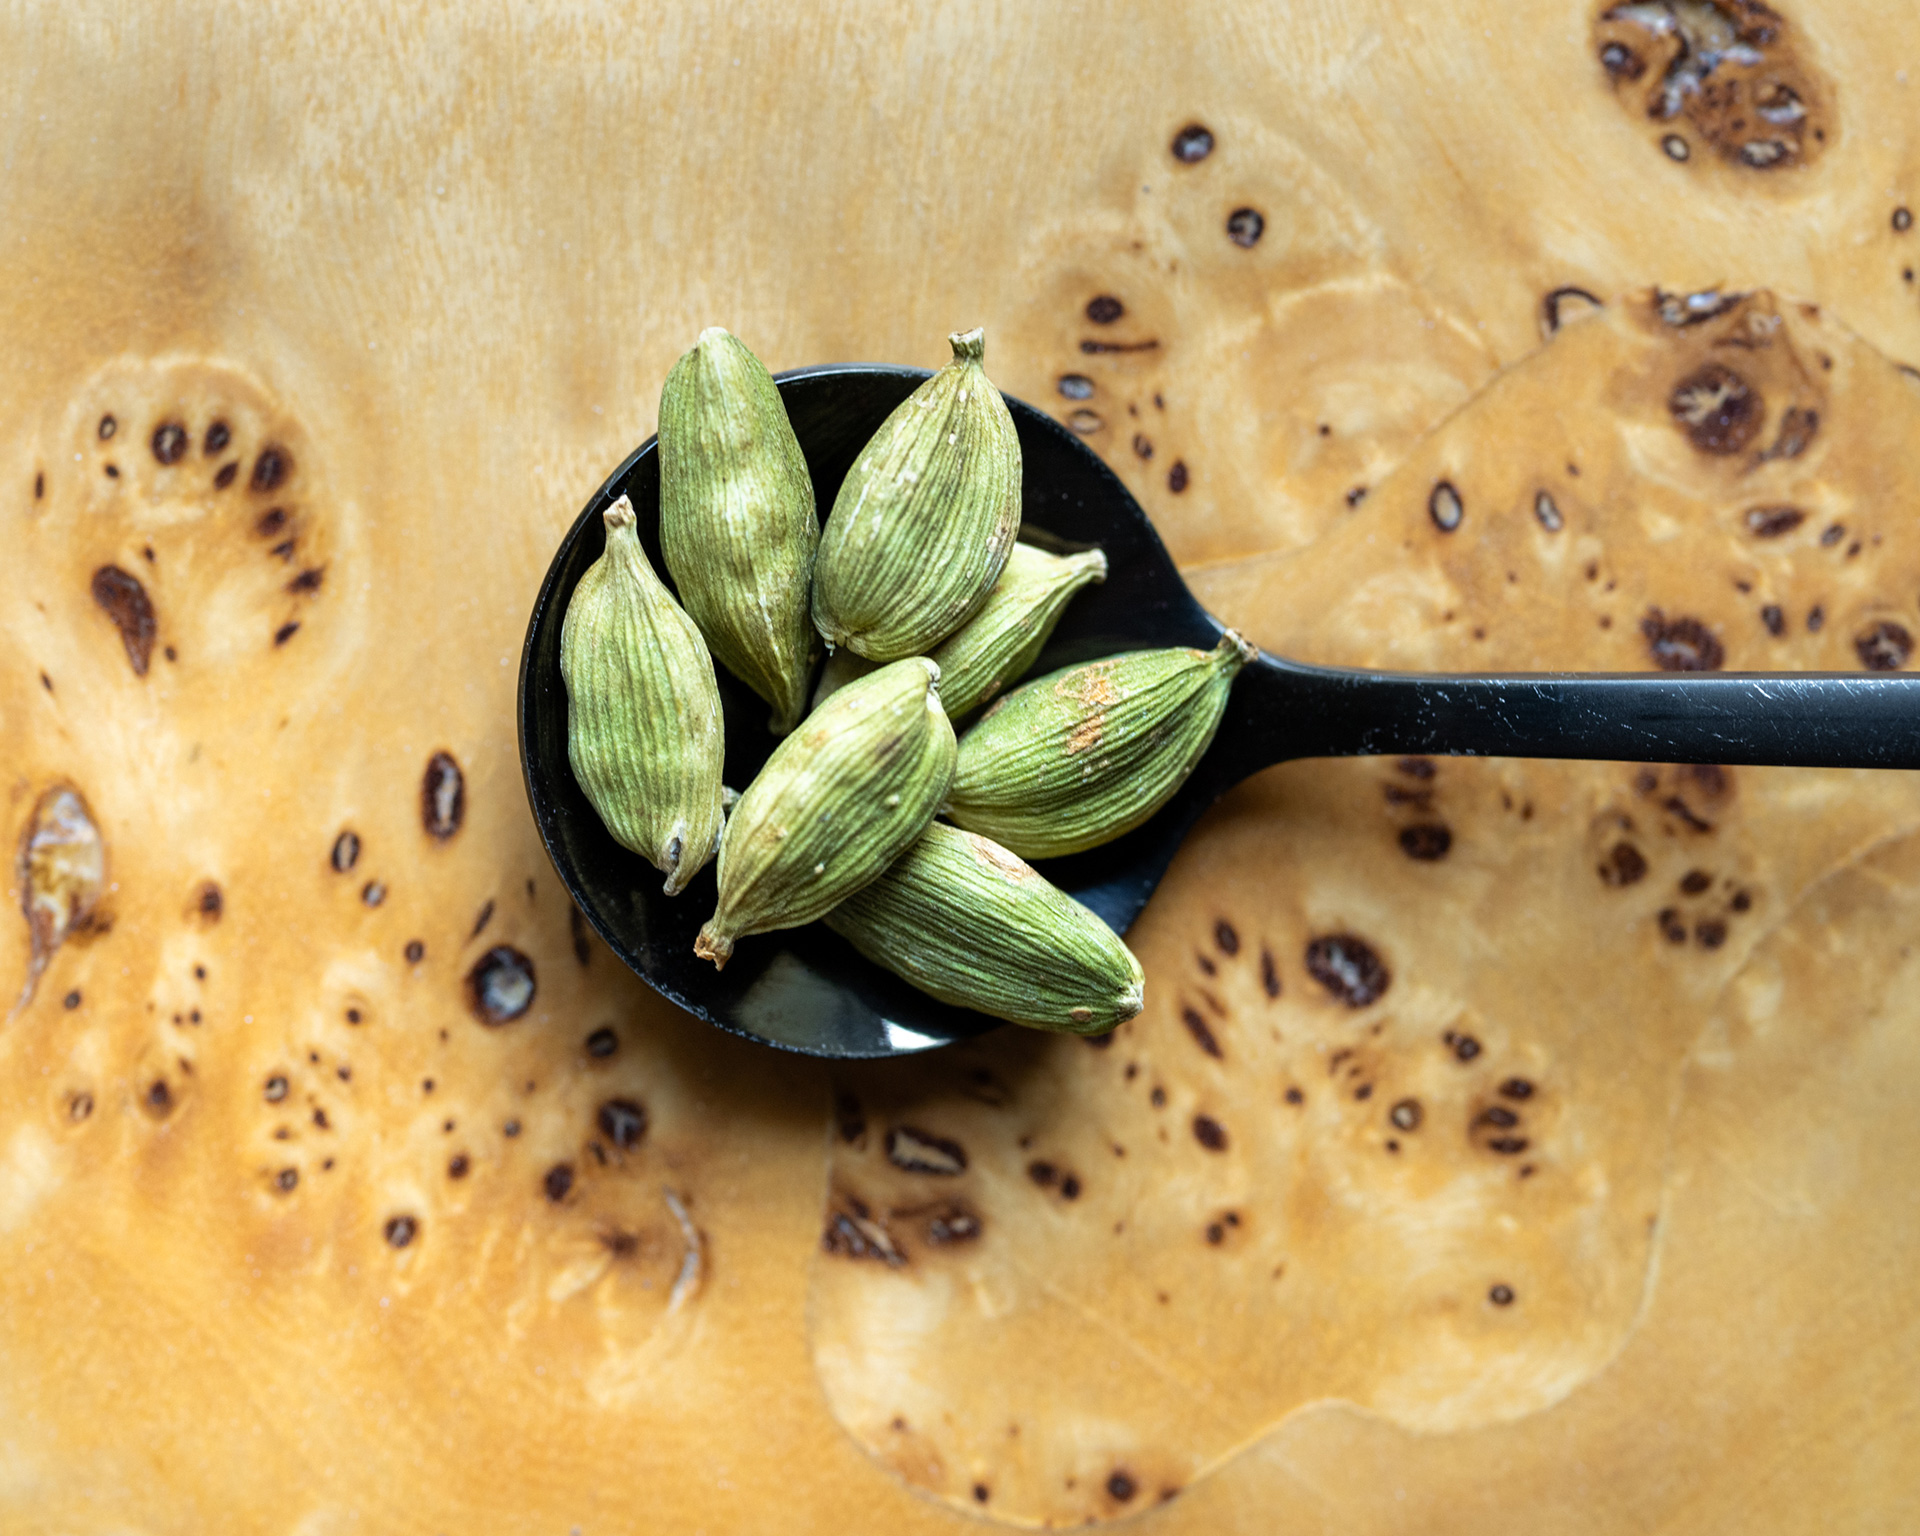
Cascara
100g currants
100g ripe starter/levain
Bakeware
Two good sized bowls, preferably at least one glass bowl
Scraper
Bench knife
Banneton of your preferred shape
Lame/razor blade
Dutch oven
A clean board or work surface
Bowl cover/proofing bag/towels
Mesh strainer
Alright, let’s get to it! (We want a ripe levain for making our loaf, so don’t forget to get that making the night before or the morning of, if you plan on baking at night.)
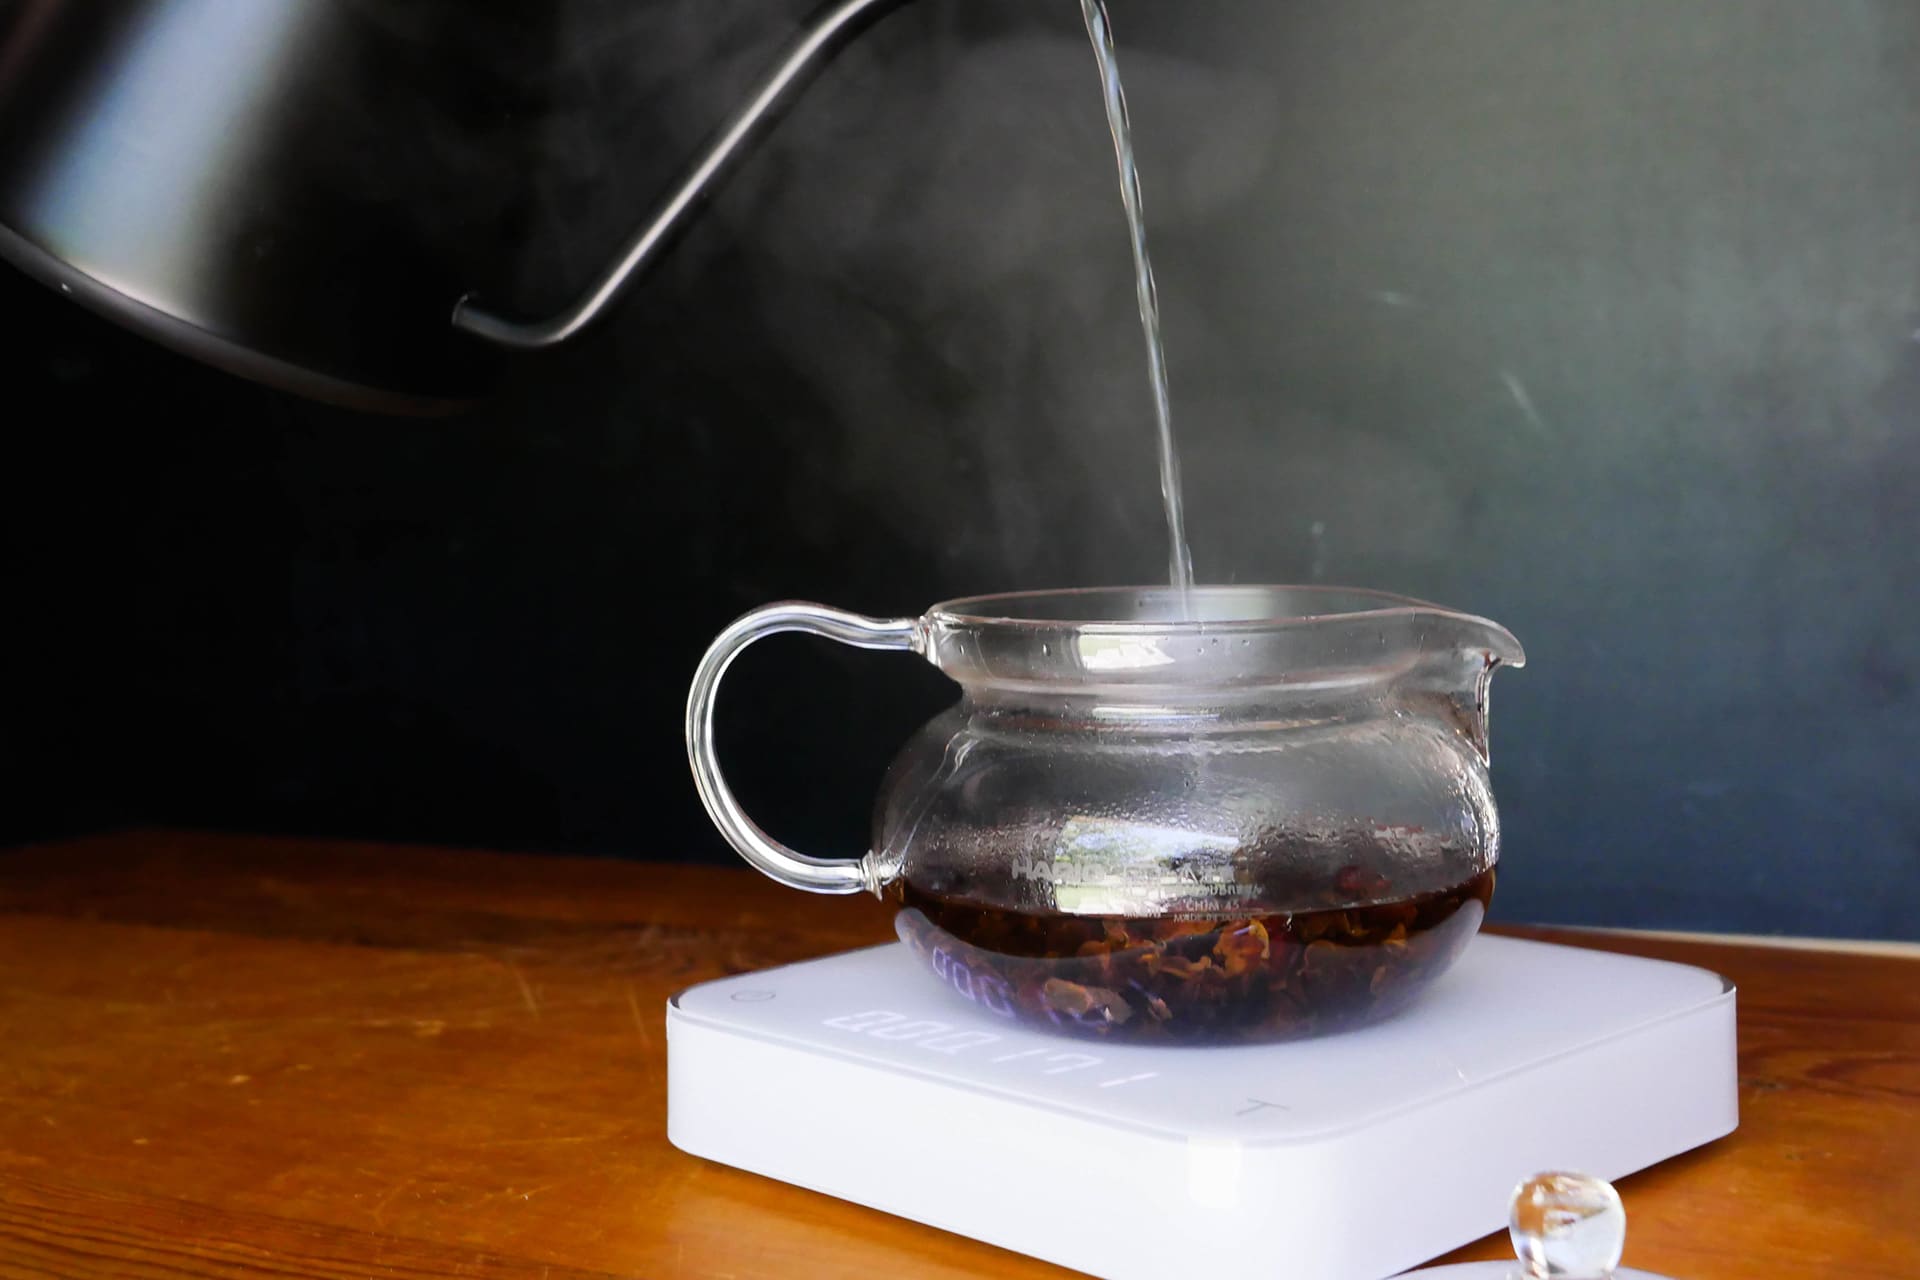
Make Cascara and Rehydrate Currants
For this recipe, we’ll be rehydrating the currants. This helps soften the dried fruit, which helps minimize any sharp edges that have hardened over the drying process, and rehydrated fruit give little extra pops of flavor in each bite.
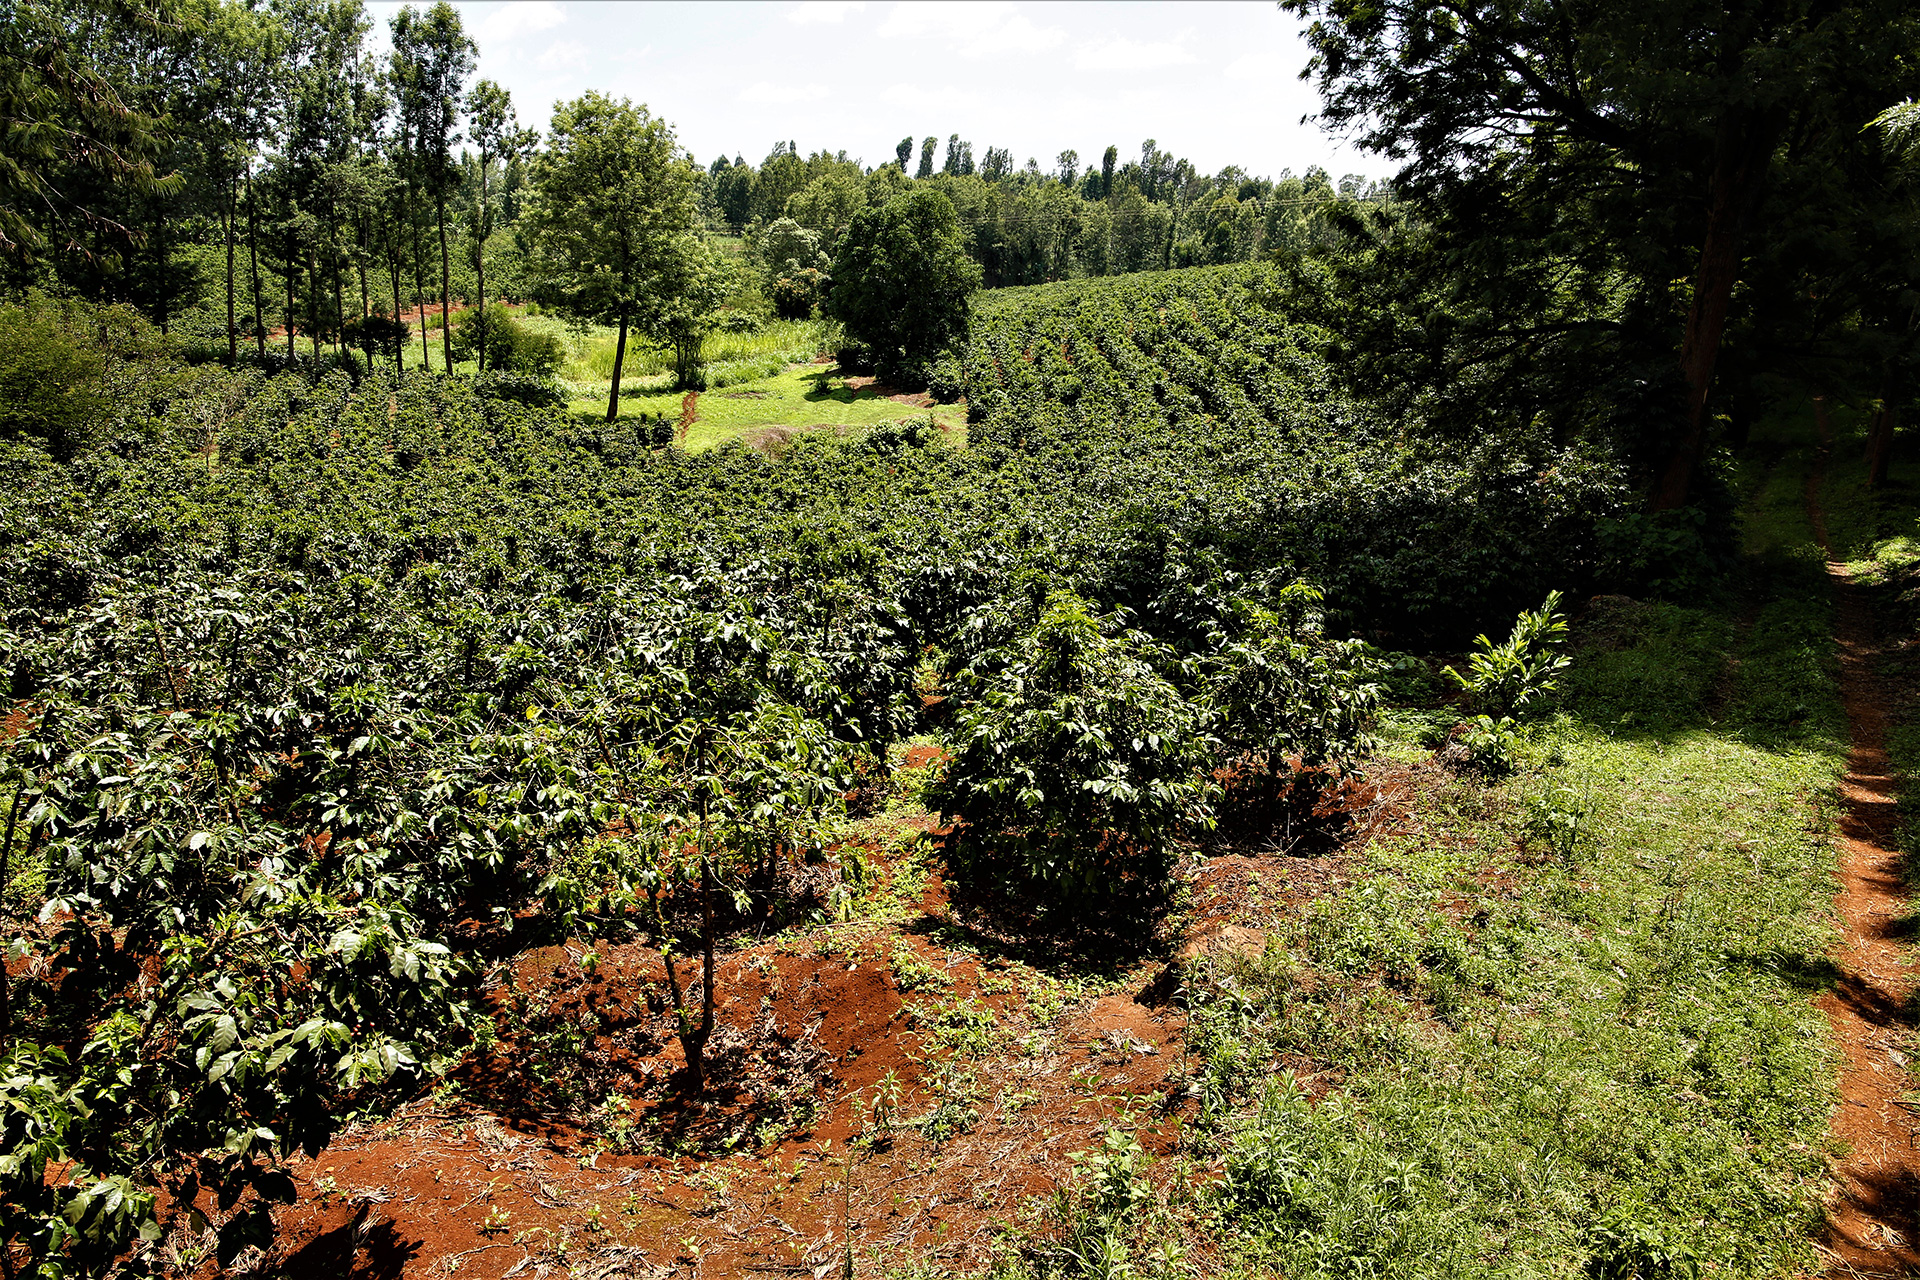
About two hours before the autolyse, we need to brew our cascara. I prefer something light on the pipe tobacco flavor. It can be overpowering and adds a touch of heaviness that I don’t prefer. For me, the cascara from Pilot Coffee Roasters fits the bill perfectly. Lighter in body, full of raspberry and lemon tea flavor with just a hint of raisin, Pilot’s cascara from Finca Santa Lucia in Costa Rica is delicate enough to make a wonderful cup of tea but balanced and structured enough to hold up against the flavors imparted by the flour.
To help pack in as much cascara flavor into our loaf as possible, we are going to updose the tea, by as much as 25%. For this recipe, we are going to need to make 475-500g of cascara (375g will be used to hydrate the flour, the rest will be soaked up by the currants or retained in the brewing process by the coffee cherries). Using the brew guide from Pilot, this means we’ll need 35g cascara to brew 500g of purified water at 200°F (93°C) for three minutes. Now, this is a lot of cascara. If you’re not looking to blast through half a bag for a single loaf, I also found that using 21g of cascara to brew 500g of purified water at 210°F (99°C) for seven minutes to produce really nice results as well. The key is to taste the cascara. Our ultimate goal is to make a tea you would enjoy drinking, if only a bit stronger.
With the cascara made, pour it over 100g of currants and let sit until the cascara reaches room temperature. Over the course of the next two hours, the currants will plump up and soften. They are much more fragile at this point and will squish out all that moisture they just soaked up if you aren’t careful. SO BE CAREFUL. Once the cascara has come down to room temperature, separate the currants and the cascara by running it through a strainer. Make sure you keep the cascara. It’s going in the bread.
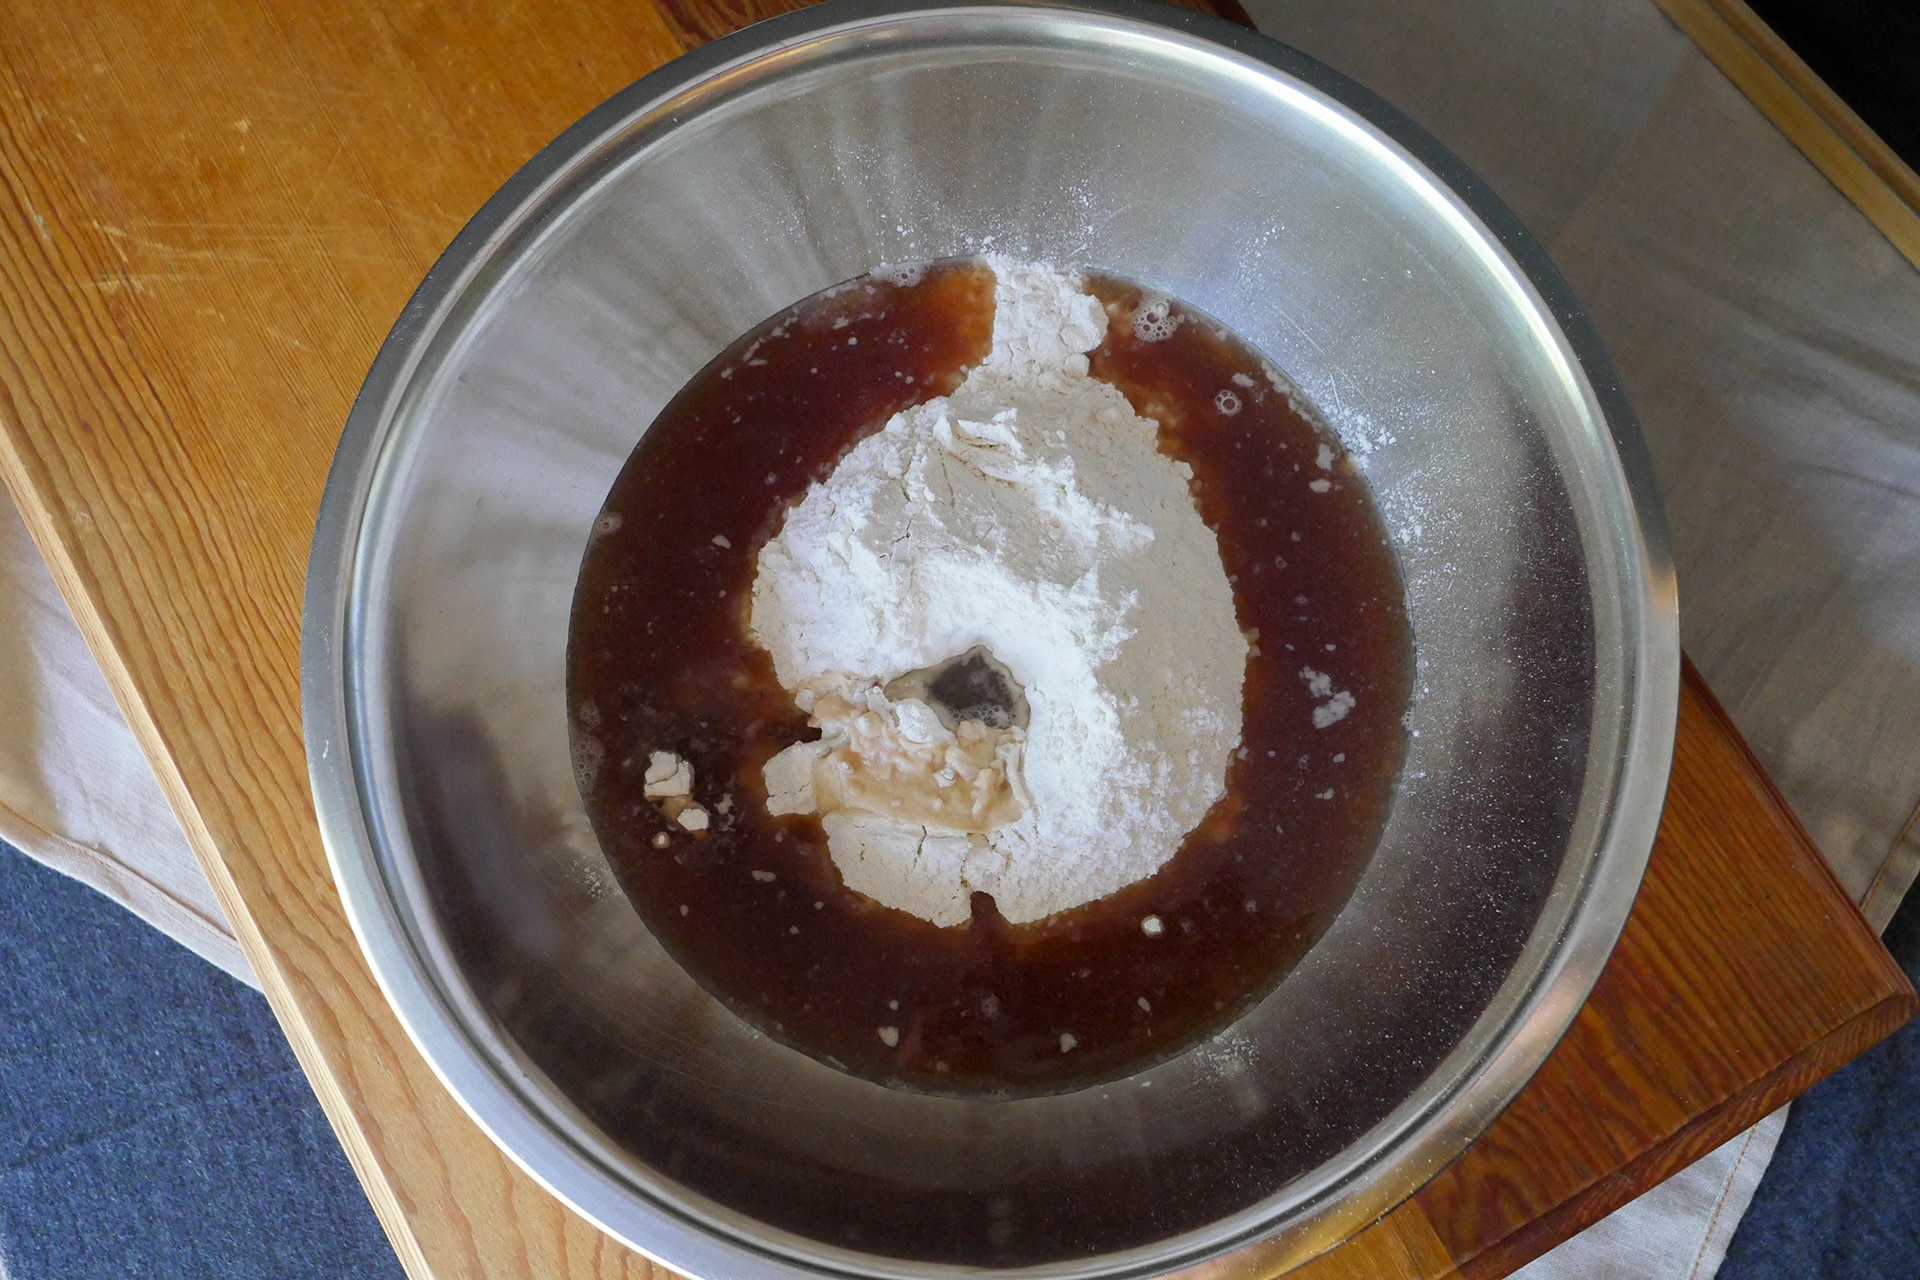
Autolyse
Add 365g room temperature cascara to the flour (400g bread flour and 100g whole wheat flour) and combine until you have a shaggy dough. Cover the bowl with a bowl cover and let sit at room temperature for about two hours. This autolyse time allows the glutens to build strength and makes your dough much easier to work with down the road. At this point, the dough will feel VERY underhydrated, and that’s because it is. Remember, we are leaving buffer room for currant squish. This is ACT I in the three-act play that is this loaf; the rollercoaster of emotions goes from “this is too dry” to “oh no, this dough is a soupy mess!” to “ok phew, it all came together, but that was close.” We’re going to try to minimize ACT II and its emotional toll.
Add the Levain
With our dough now autolysed and strengthened, it’s now time to add the 100g levain. When incorporating the levain, try your best to not tear the dough. It is an impossible task, but it’s nonetheless a good mindset to have at this step. In lieu of box turns or squishing the dough in my hands, I’ve found that doing a “pick and pull” at the dough seems to work nicely; it’s similar to the Rubaud method, but you pick at the dough as opposed to scoop underneath it. With a wetted hand, unstick the dough from the bowl, and after you’ve folded the dough around the levain, just lightly pick a few fingers’ worth of dough and gently stretch. This can be done quickly, but not aggressively. Again, use whatever method you feel most comfortable with, so long as it isn’t tearing the dough extensively. Let sit for 30-45 minutes.
Add Everything Else
This is where things can get tricky. Add 12g of salt and the remaining 10g cascara tea to the dough, gently stretching and pulling to incorporate. Once everything feels mostly incorporated, it’s time to start adding currants. Now, you can add all 100g all at one time if you’re feeling brave, but I’ve found slowly introducing them over the course of the first hour of bulk fermentation is a much more manageable method. For this, we’ll want to add about one third of the currants at this point. Just sprinkle them on top of the dough and give it a few folds to work them in (box turns works great for this). Don’t worry too much about getting them evenly spread throughout the dough. That’ll happen over the course of the bulk with all the additional turns. Once you’ve got your currants added, move the dough to a fresh (preferably glass) bowl and cover with a bowl cover (or towel).
Bulk Fermentation
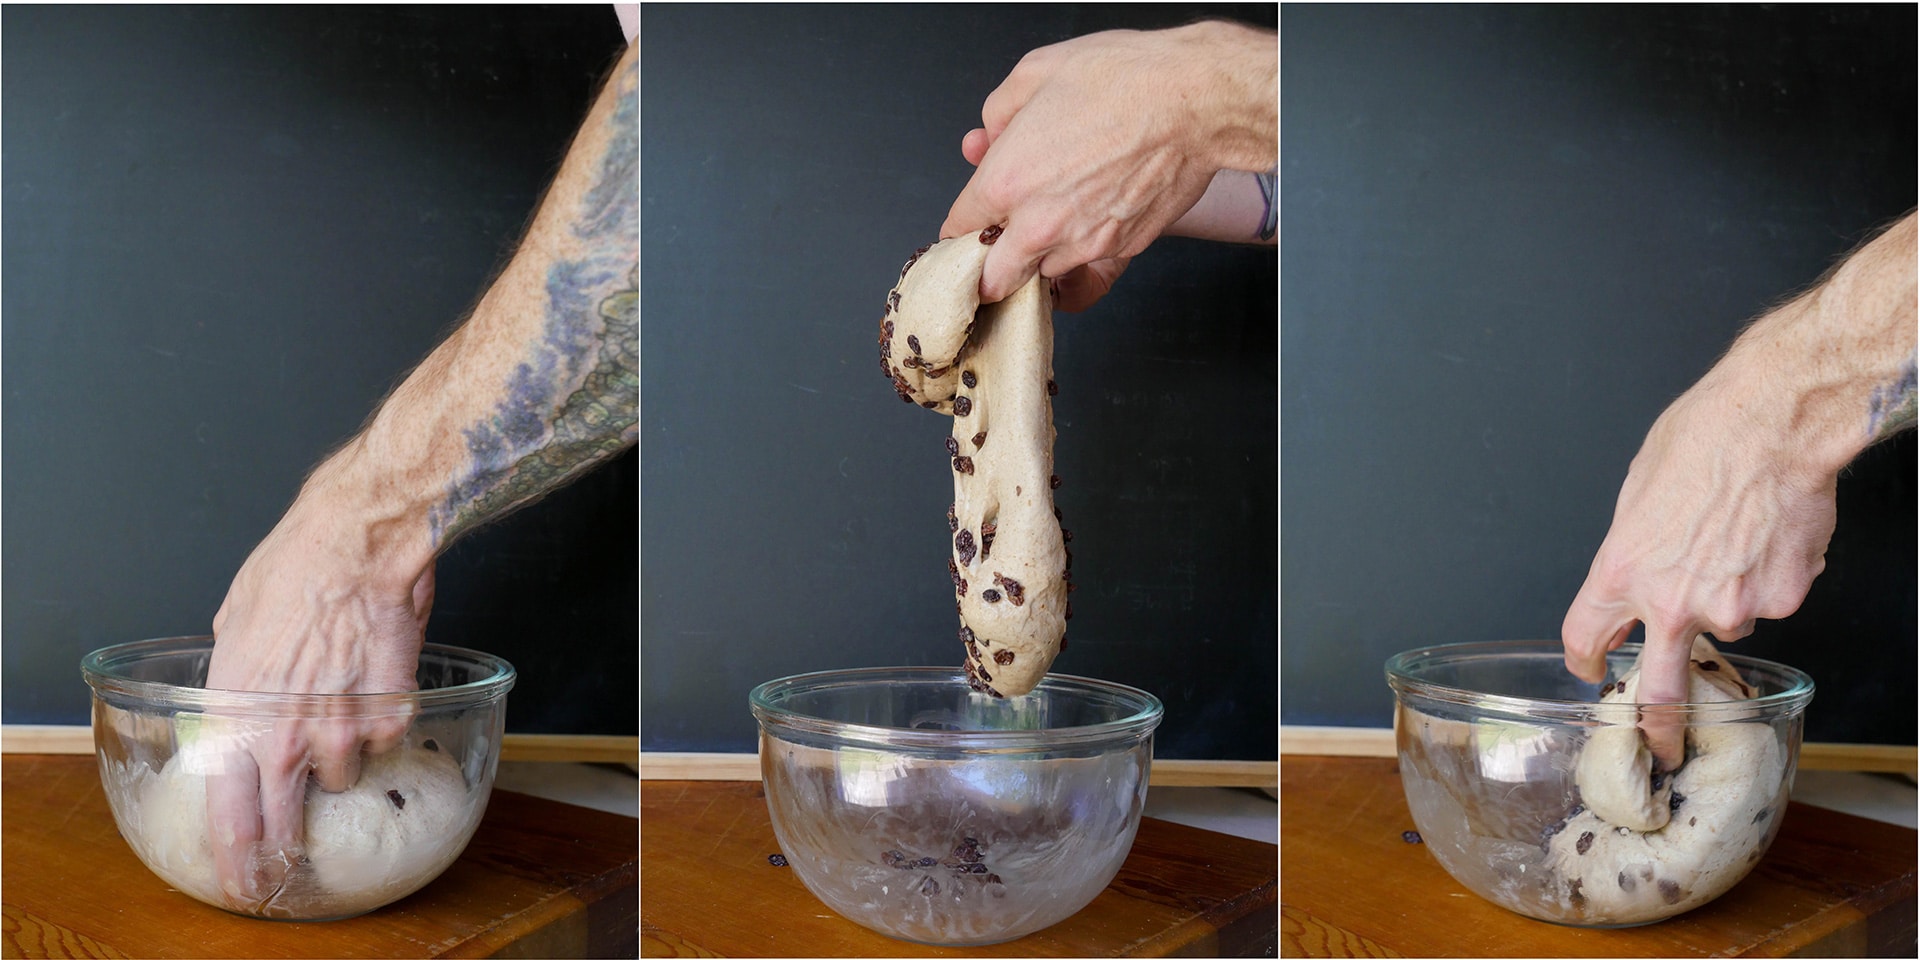
For the first two hours of the bulk fermentation, I like to fold the dough every 30 minutes, then move to folds every hour for the remainder of the time. For this loaf in my generally 75°F house, I can normally get through the bulk in four to six hours, though closer to the longer end. If you didn’t add all the currants earlier, you can work them over the course of the first two turns. For the entirety of the bulk, I like to use the coil fold; it stretches the dough nicely without being too aggressive.
For the coil fold, wet your hand and loose the dough from the bowl. Rewet both your hands and pull the dough up from the center of the bowl with your middle fingers, letting it fold over onto itself in the bowl. Repeat this until the dough has completely coiled up. Rotate the bowl 90° and repeat the entire process.
Overall, we are looking for about 50% to 60% total rise during bulk fermentation.
Initial Shaping and Bench Rest
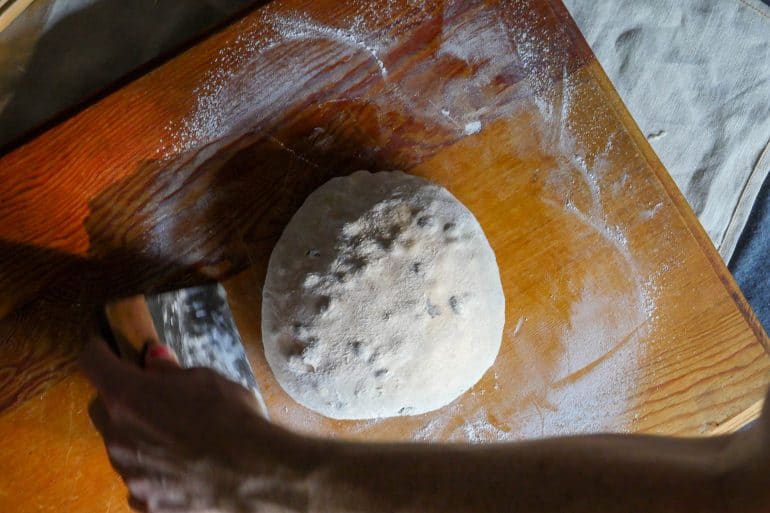
After the dough has sufficiently risen in the bulk, with a wetted hand unstick the dough from the bowl and dump it out onto a floured work surface. With a bench knife, fold the dough in half and pinch the seam. (The dough should completely floured on all exposed surfaces now.) With the bench knife, shape the dough into a ball by working it around the board. Let rest for 30 minutes or so.
Final Shaping
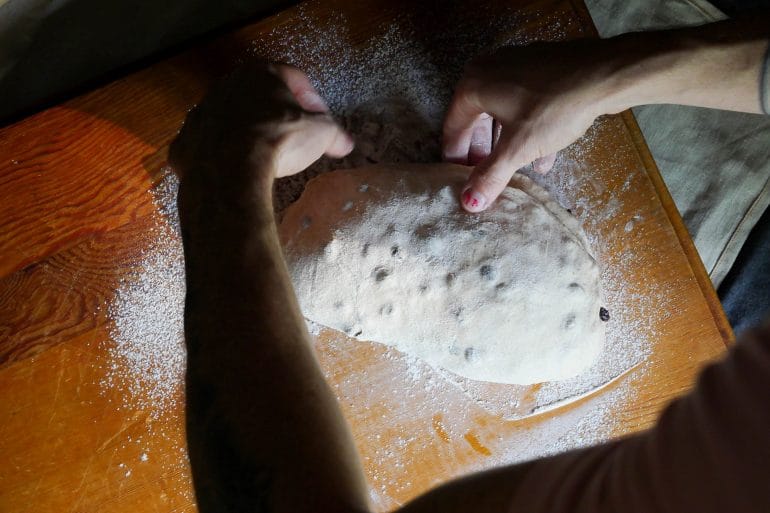
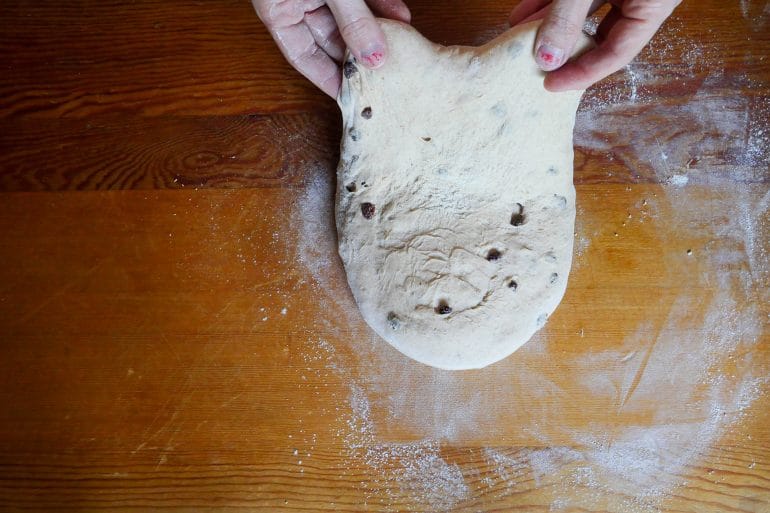
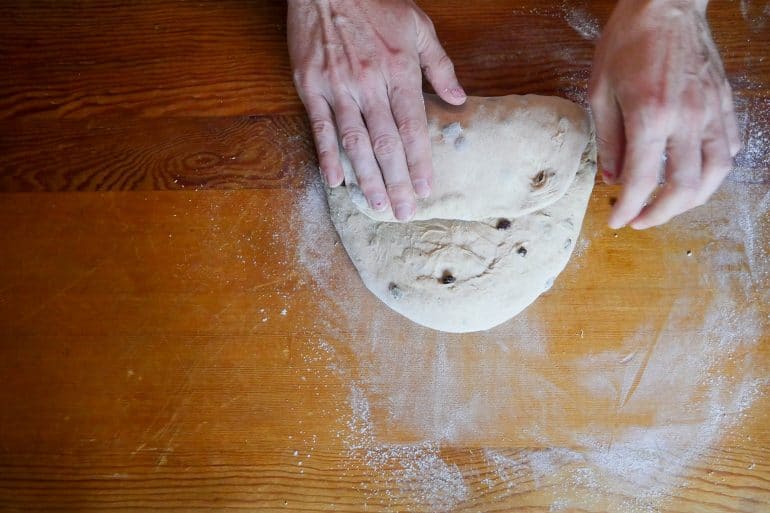
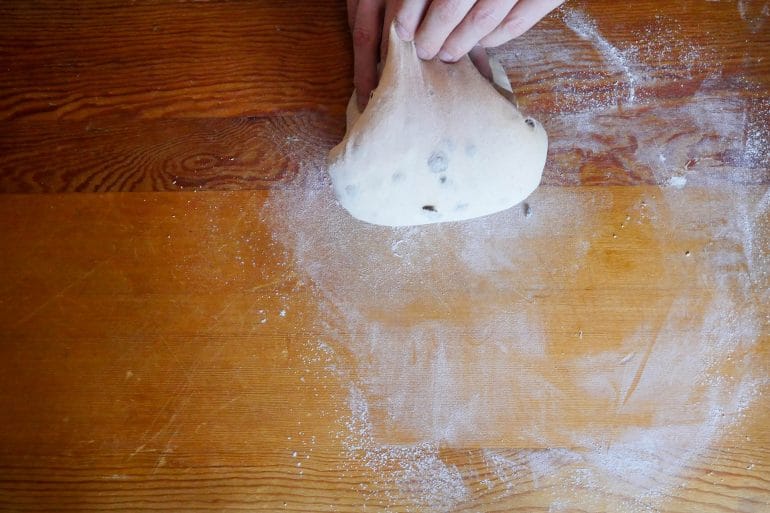
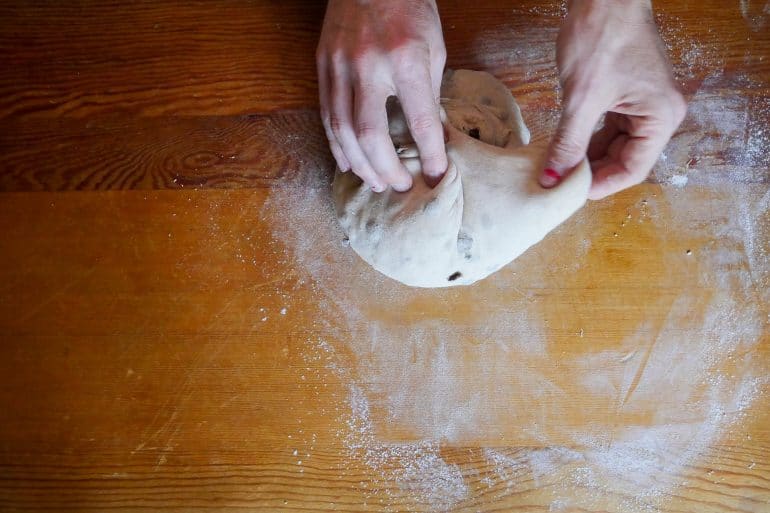
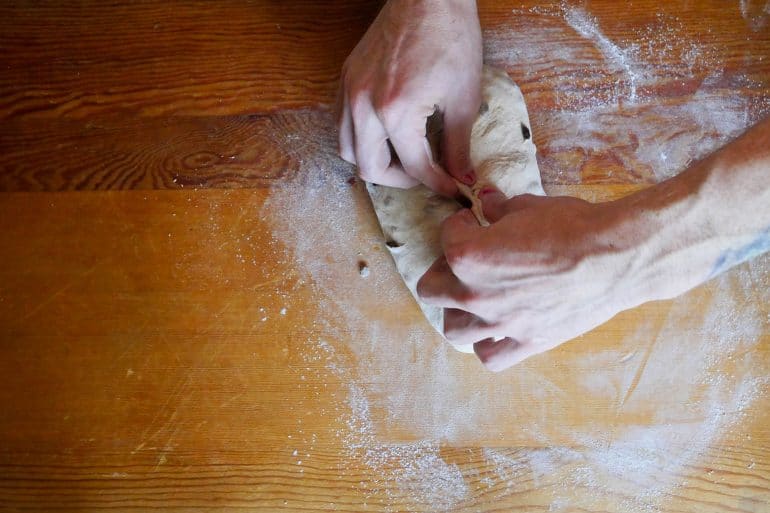
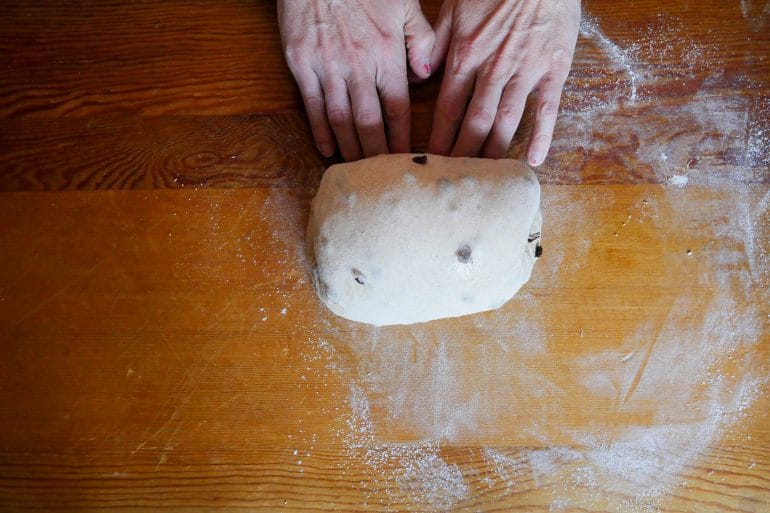
Before shaping, flour your banneton (or whatever receptacle you prefer) for the dough’s final rest. I use a mix of AP/bread and rice flour, but semolina works just as well. You’ve shaped a loaf before. You know what to do. Depending on what shape you’d like your final loaf to take—circular boule or longer, more oblong batard—the final shaping will vary. The package fold is always nice for a boule. For a batard, I like the fold shown above (and somewhat mesmerizingly here). If that seems a bit extra, the trifold roll-up (seen here) is also quite nice. What we are looking for is good tension in the loaf. With the loaf shaped, place it gently in your banneton and cover with a proofing bag or towel; proofing bags will keep the dough from developing a crust for longer proofing times.
From here you can choose to let it proof at room temperature for three or so hours, or you can put the loaf in the refrigerator for a much longer proof, up to 48 hours even. The longer the proof, the more flavor development.
The Bake
First and foremost, know your oven. I’ll give you what I use, but unless you plan on using my oven—which, come on over, wear a mask, let’s party—I’d suggest using whatever your regular baking parameters are that have proven successful in your baking thus far.
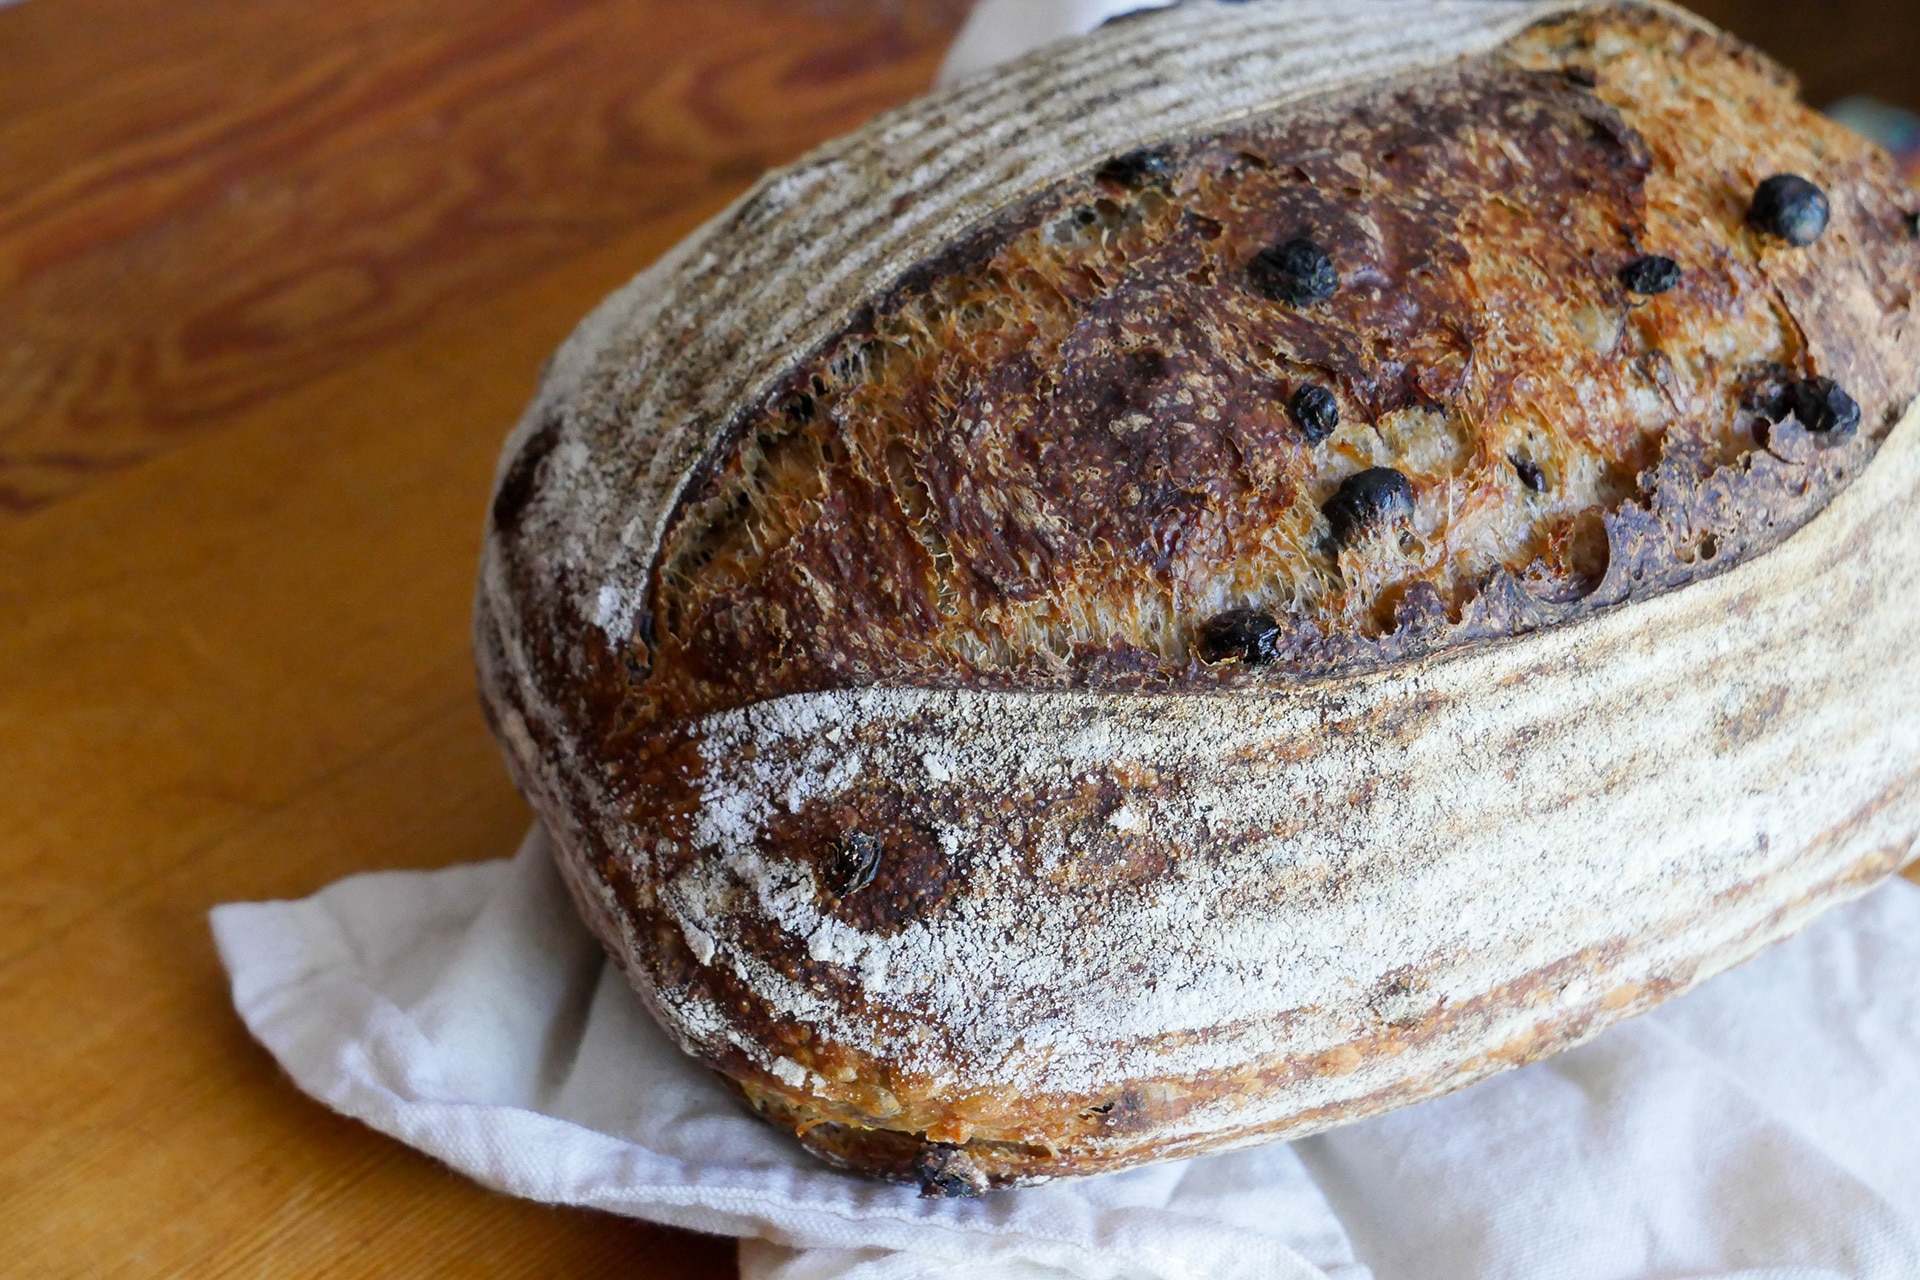
About an hour before you bake, preheat the oven to 500°+ (I do 490° convection) with your dutch oven heating up inside. Once everything has reached temp, remove the bottom of the dutch oven, leaving the lid in the oven, and place it on a work surface. Gently place your dough in the dutch oven; release the dough from the banneton beforehand for an easier transfer. Using a lame, make your preferred score mark and get that dough in the oven and put the lid on. If you want to give your loaf a spritz from a water bottle to get a little extra oven spring, I wouldn’t be mad at it. Turn the over down to 470° (450° convection for me) and cook with the lid on for 20 minutes. Remove the lid and lower the oven to 450° (425° convection). Cook for another 20 to 25 minutes, until the crust is a dark, ruddy brown.
During the bake, the currants will release back some of the moisture they soaked up, creating a much more tender crumb than your typical non-enriched loaf. That extra weight also means you aren’t as likely to get that big, open, irregular crumb structure you’re used to seeing. But that’s ok, this loaf isn’t about the crumb shot—which are objectively terrible, because who even starts off by cutting their bread down the middle like that anyway (even though I’m loathe to include one in this very article; I am hypocrisy incarnate)—it’s about that sweet, sweet cascara flavor. And though this is a semi-sweet loaf, it is actually quite versatile, lending itself as well to peanut butter or another sweet spread as it does to richer offerings like a camembert sandwich.
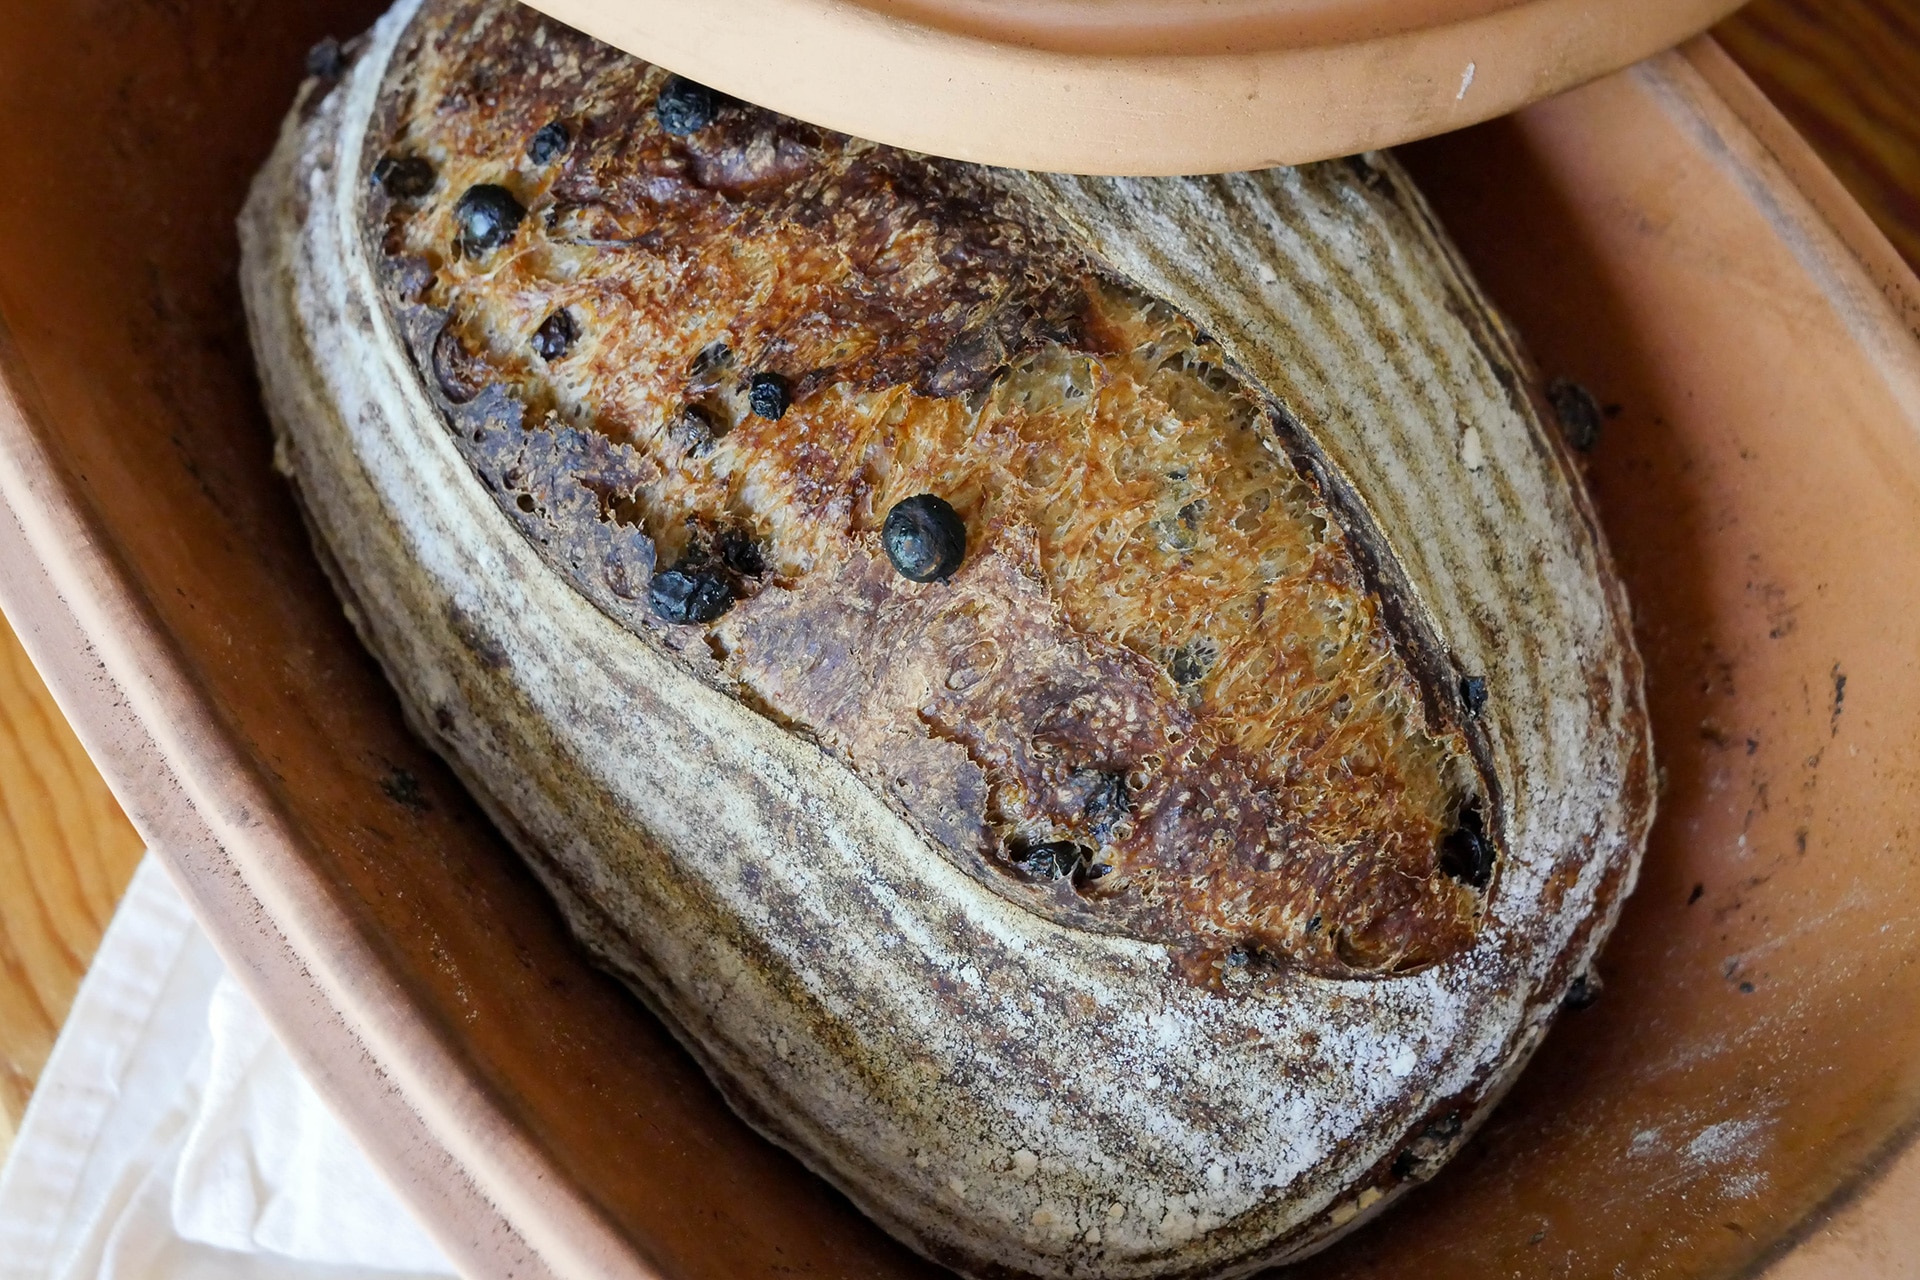
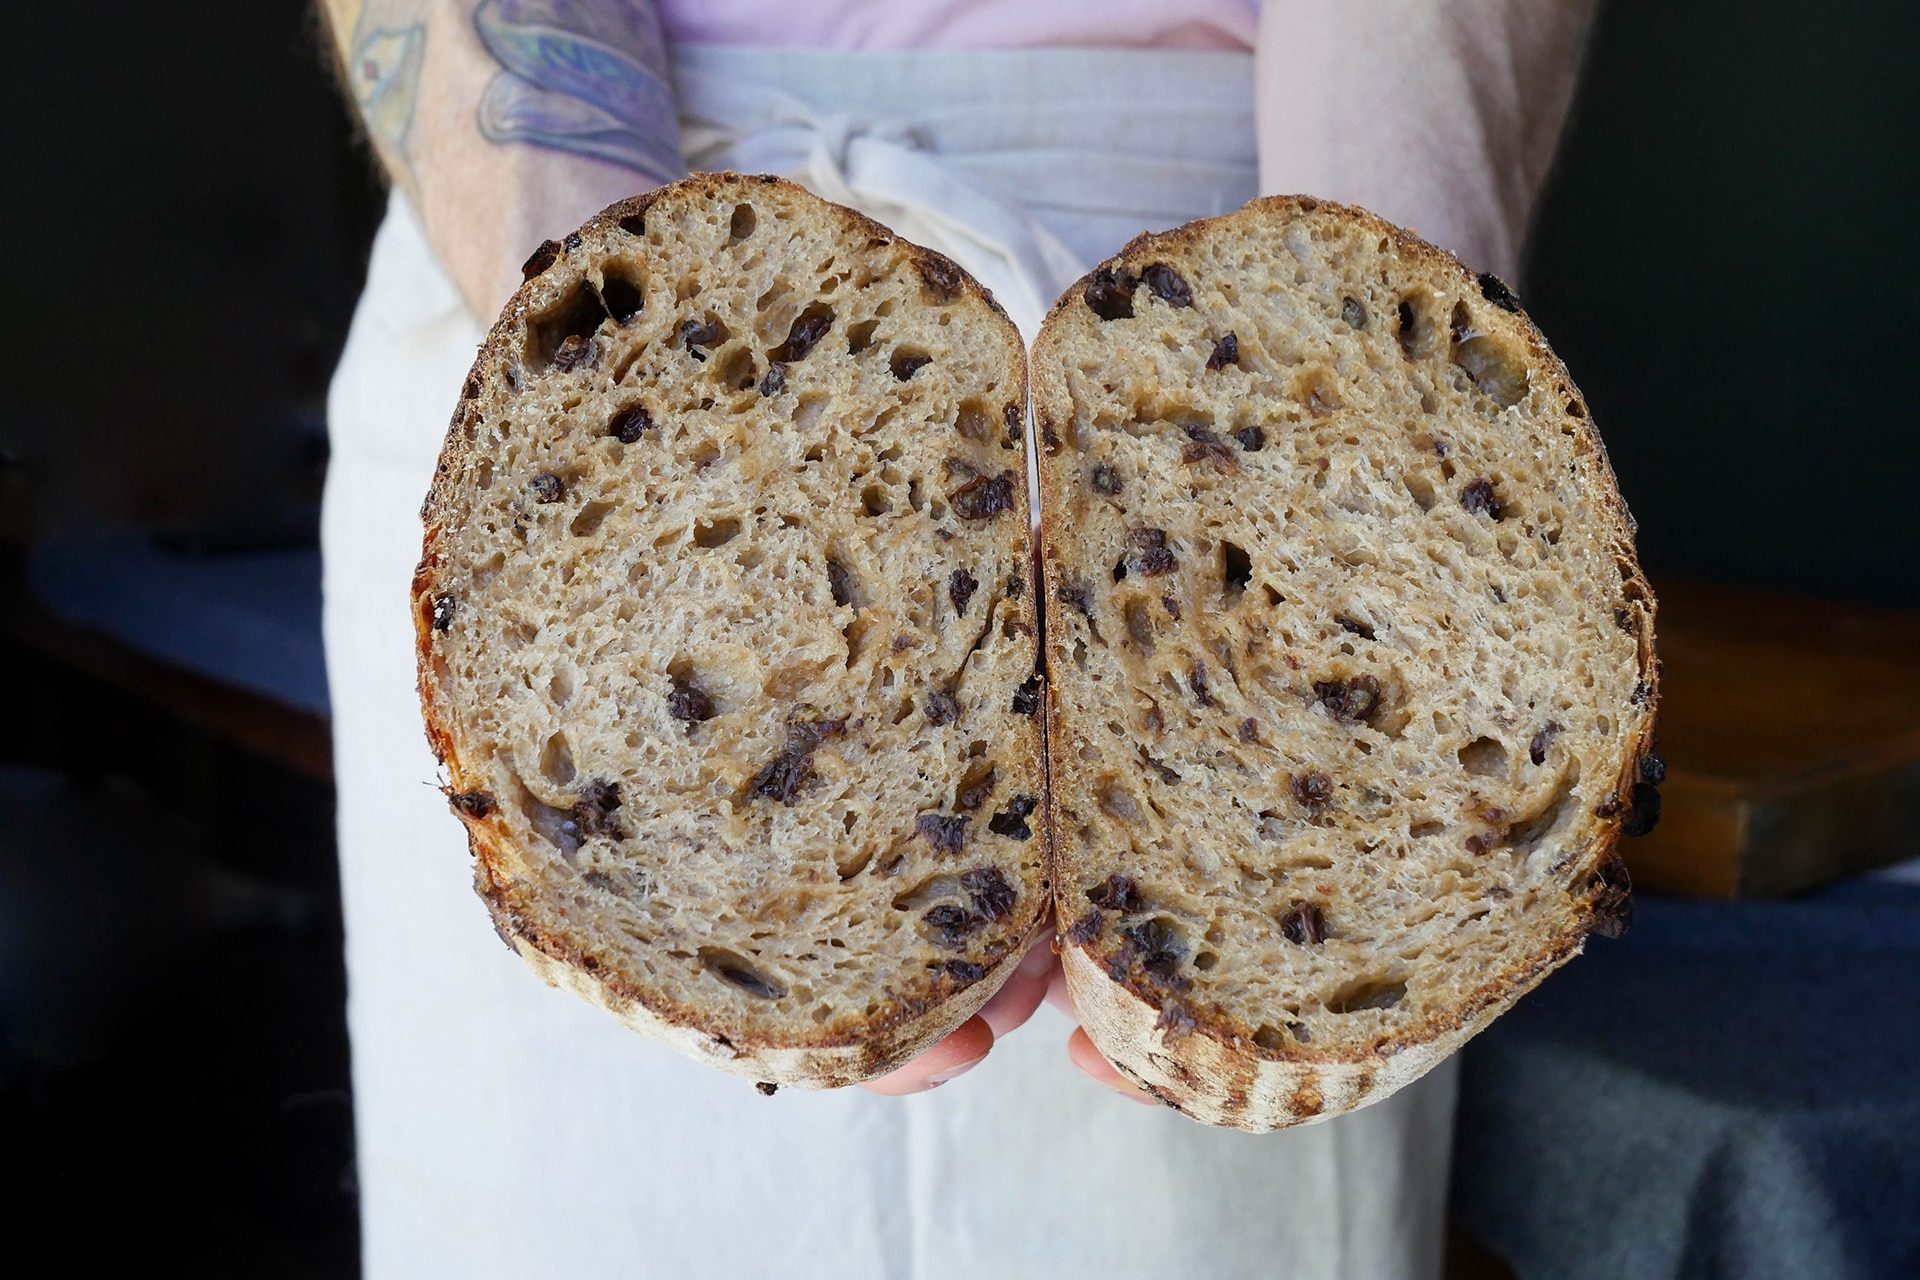
If you feel like your crusts are getting a little soggier than you’d like in your bake, try pulling the loaf from the dutch oven and letting it rest in the oven (turned off) as it cools, leaving the door slightly ajar. Let it cool for two to three hours. Or rip into that bad boy right away. There’s no greater joy than a loaf of bread fresh out of the oven.
Allow yourself that joy. You’ve earned it.
Zac Cadwalader is the managing editor at Sprudge Media Network and a staff writer based in Dallas. Read more Zac Cadwalader on Sprudge.
Photos by Cara Tolentino

